< Home
Week 1: Introduction
November 18: we started with the first class for the Fab Future course on Data Science, Getting insights from Data.
The week assignment is:
- Select and document a data set to analyze
- Connect to a JupyterLab server and become familiar with the user interface.
Dataset:
For this course i was unable finalize a dataset but after some exploration and asking around I have decided to keep two options for now and finalize over next week.
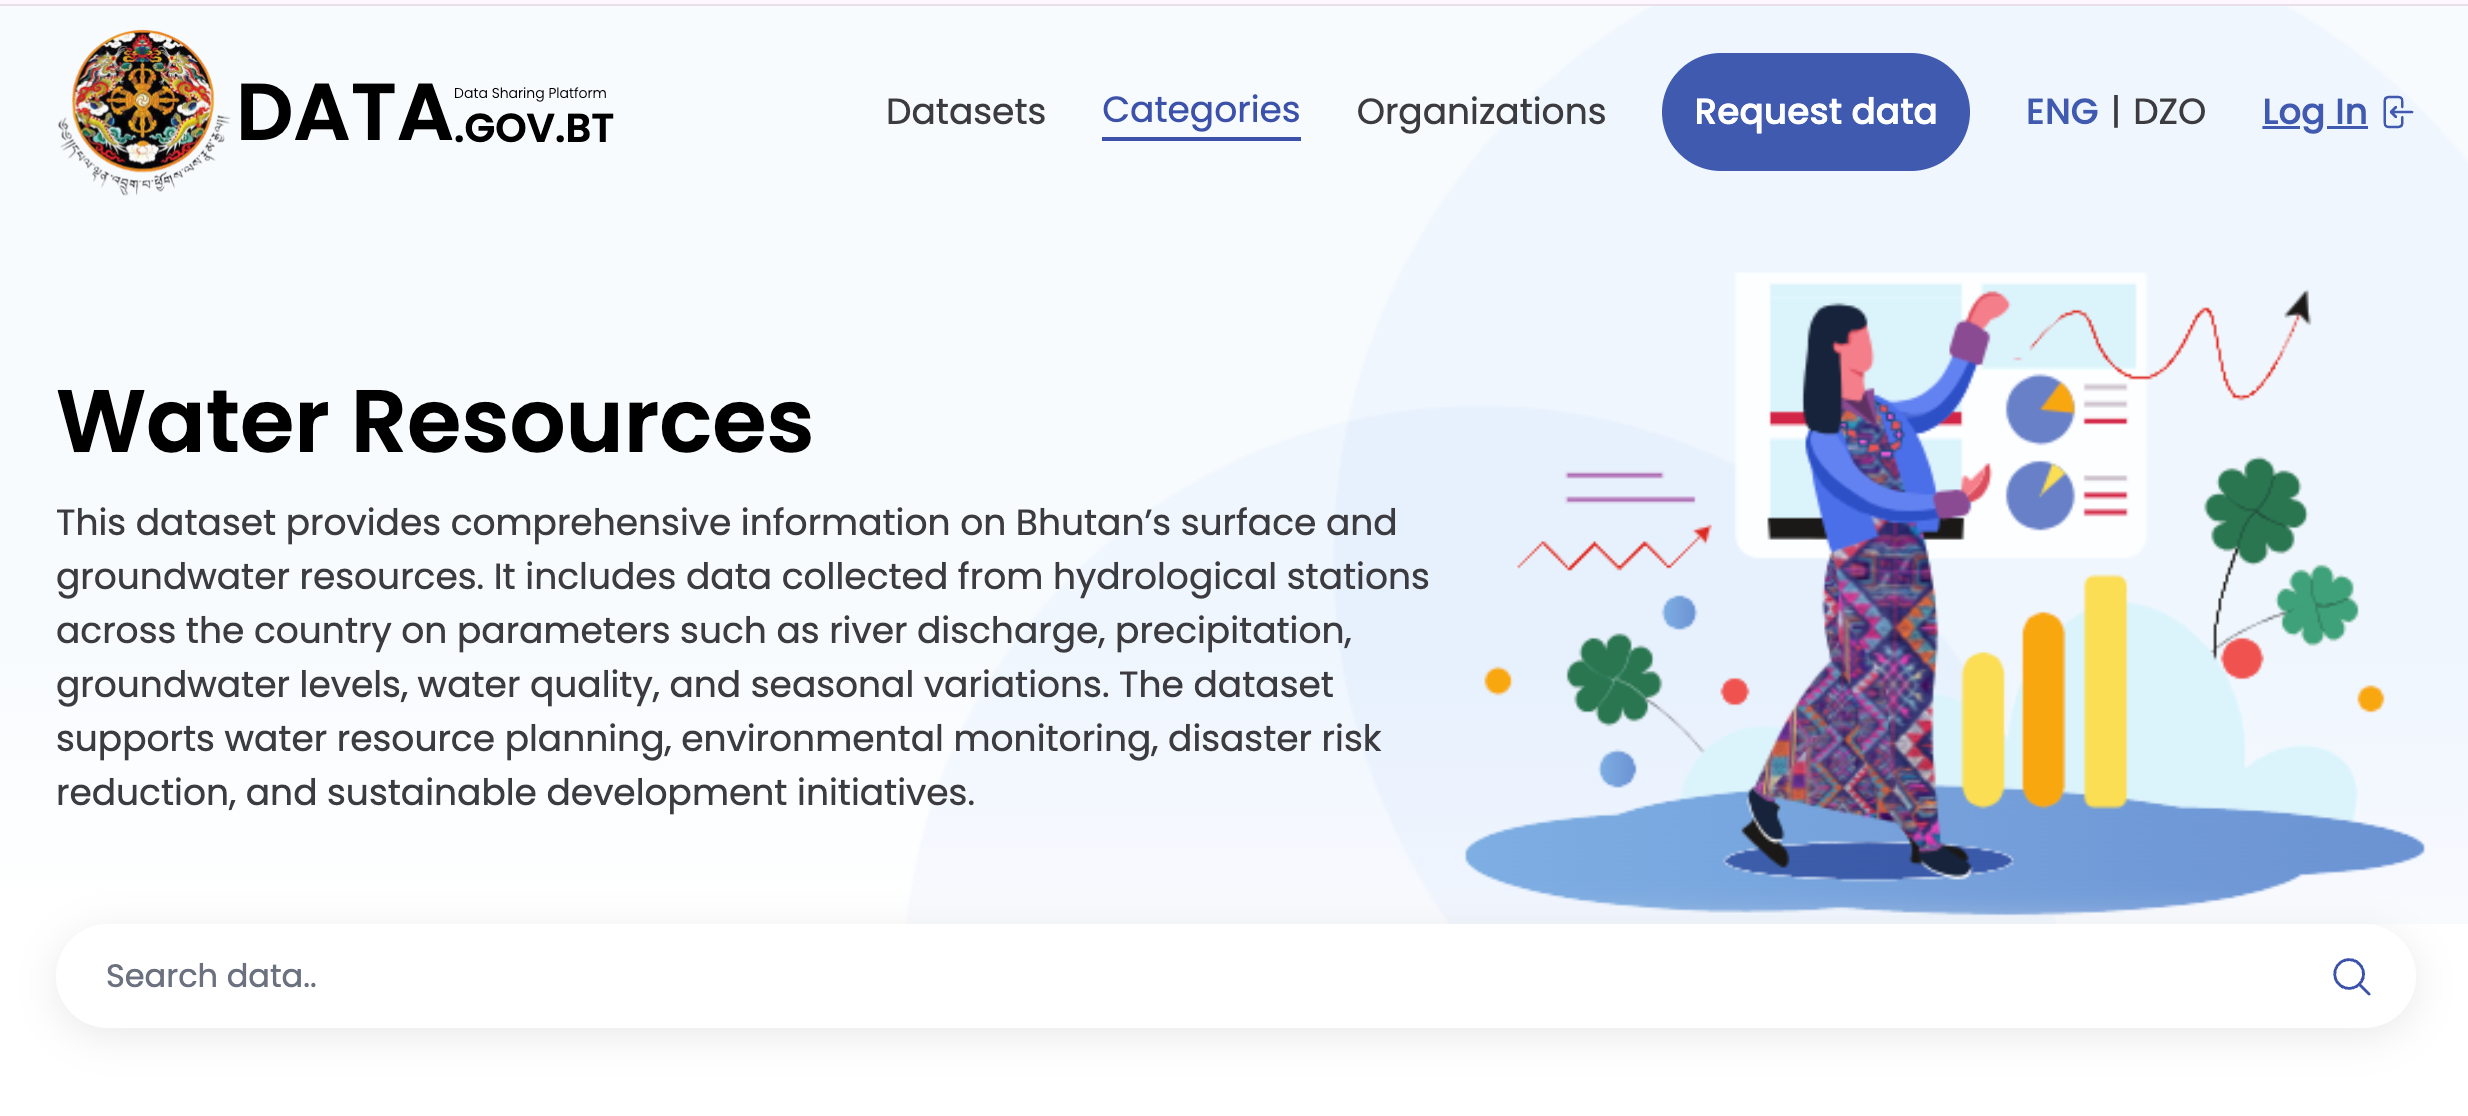
- Dataset on Water Resources of Bhutan Here. Because I wanted to use the dataset related to Bhutan
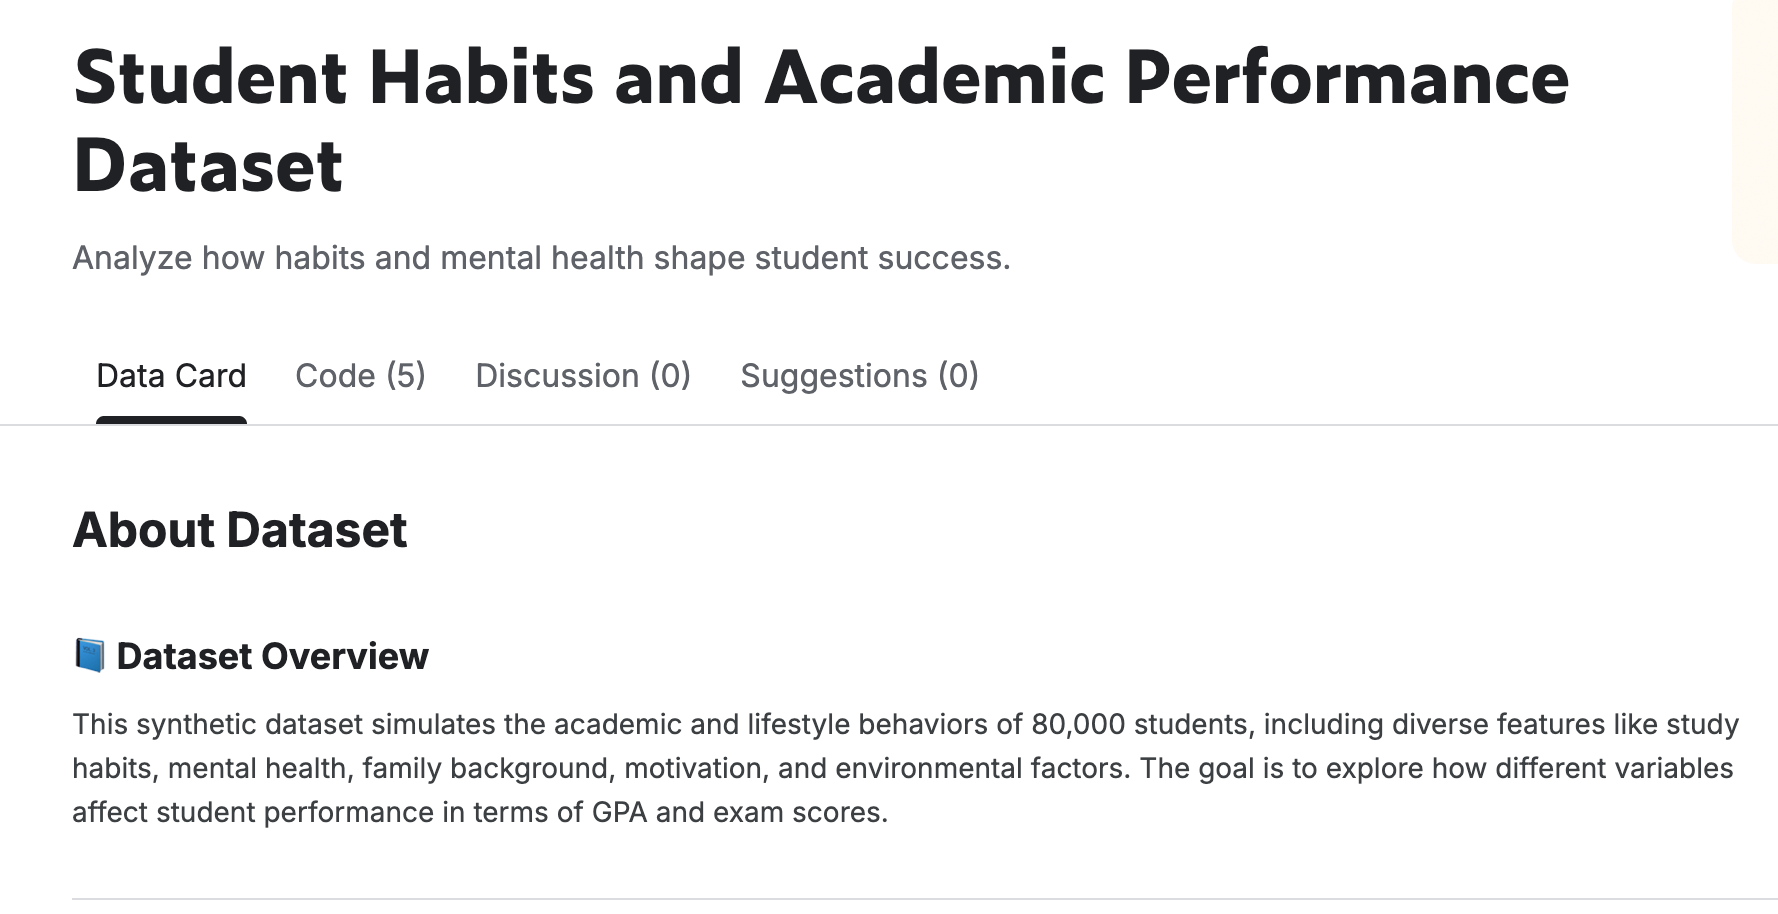
- The Second Dataset that i have selected is on Student Habits and Academic Performance
Connect to a JuypterLab Server
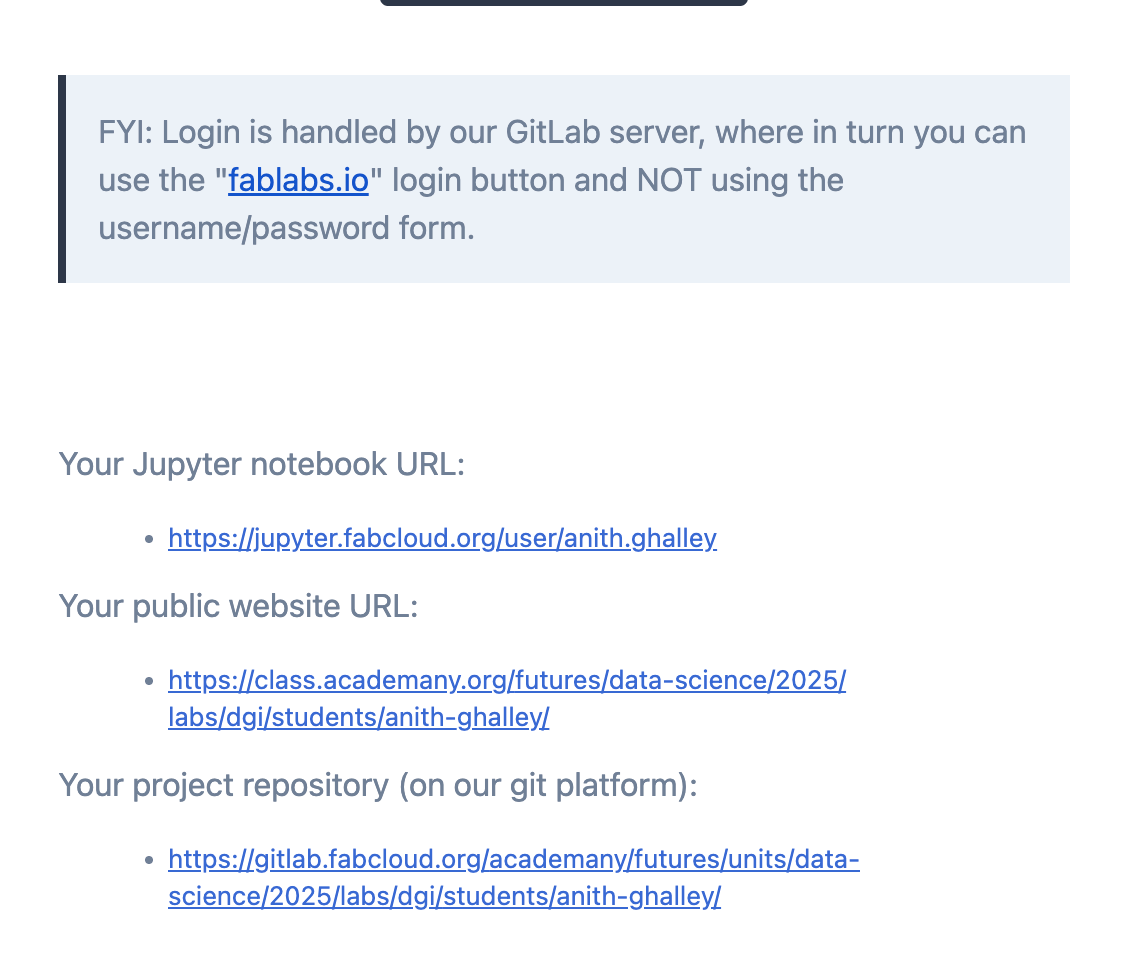
The journey with the Data Science course started with the sign up email form Fab Future Coordination and since i already had an account with fablab.io therefore i signed up with it directly instead of creating the account and then after sign in with the course i received another email from coordination with access to different URL:
- Juypter Lab Server
- Public Website URL
- Git Repository
Juypter Server
First I opened my Juypter notebook URL to learn and use the notebook platform and while logging in i used my fablab.io account to access the server through the fabcloud:
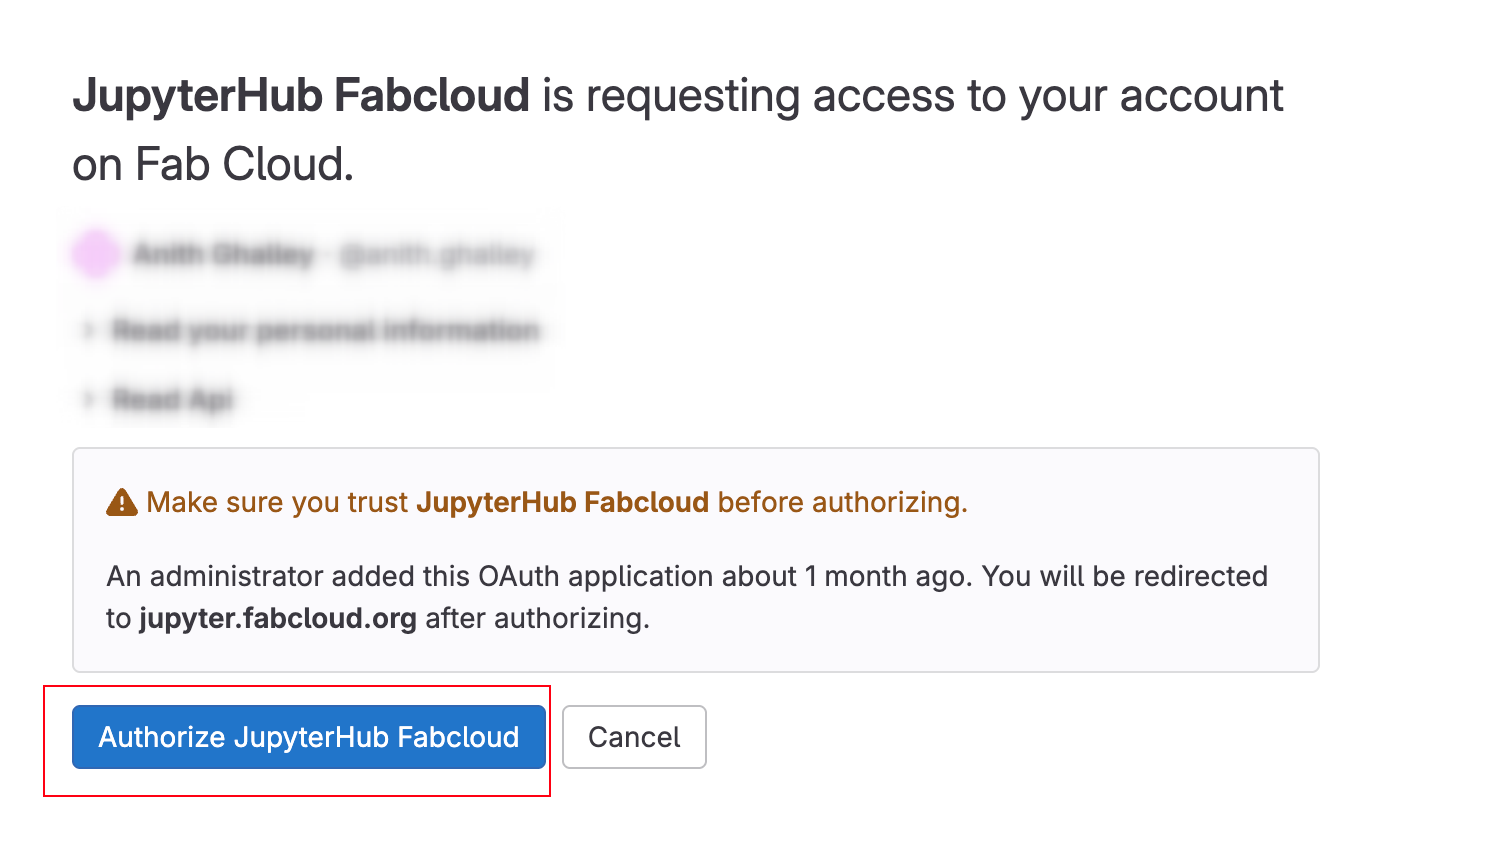
This made sure that i was using the server from Fabcloud where all my website and Git repository is connected. And hence i was able to access my Juypter Notebook with all the initial files for my course.
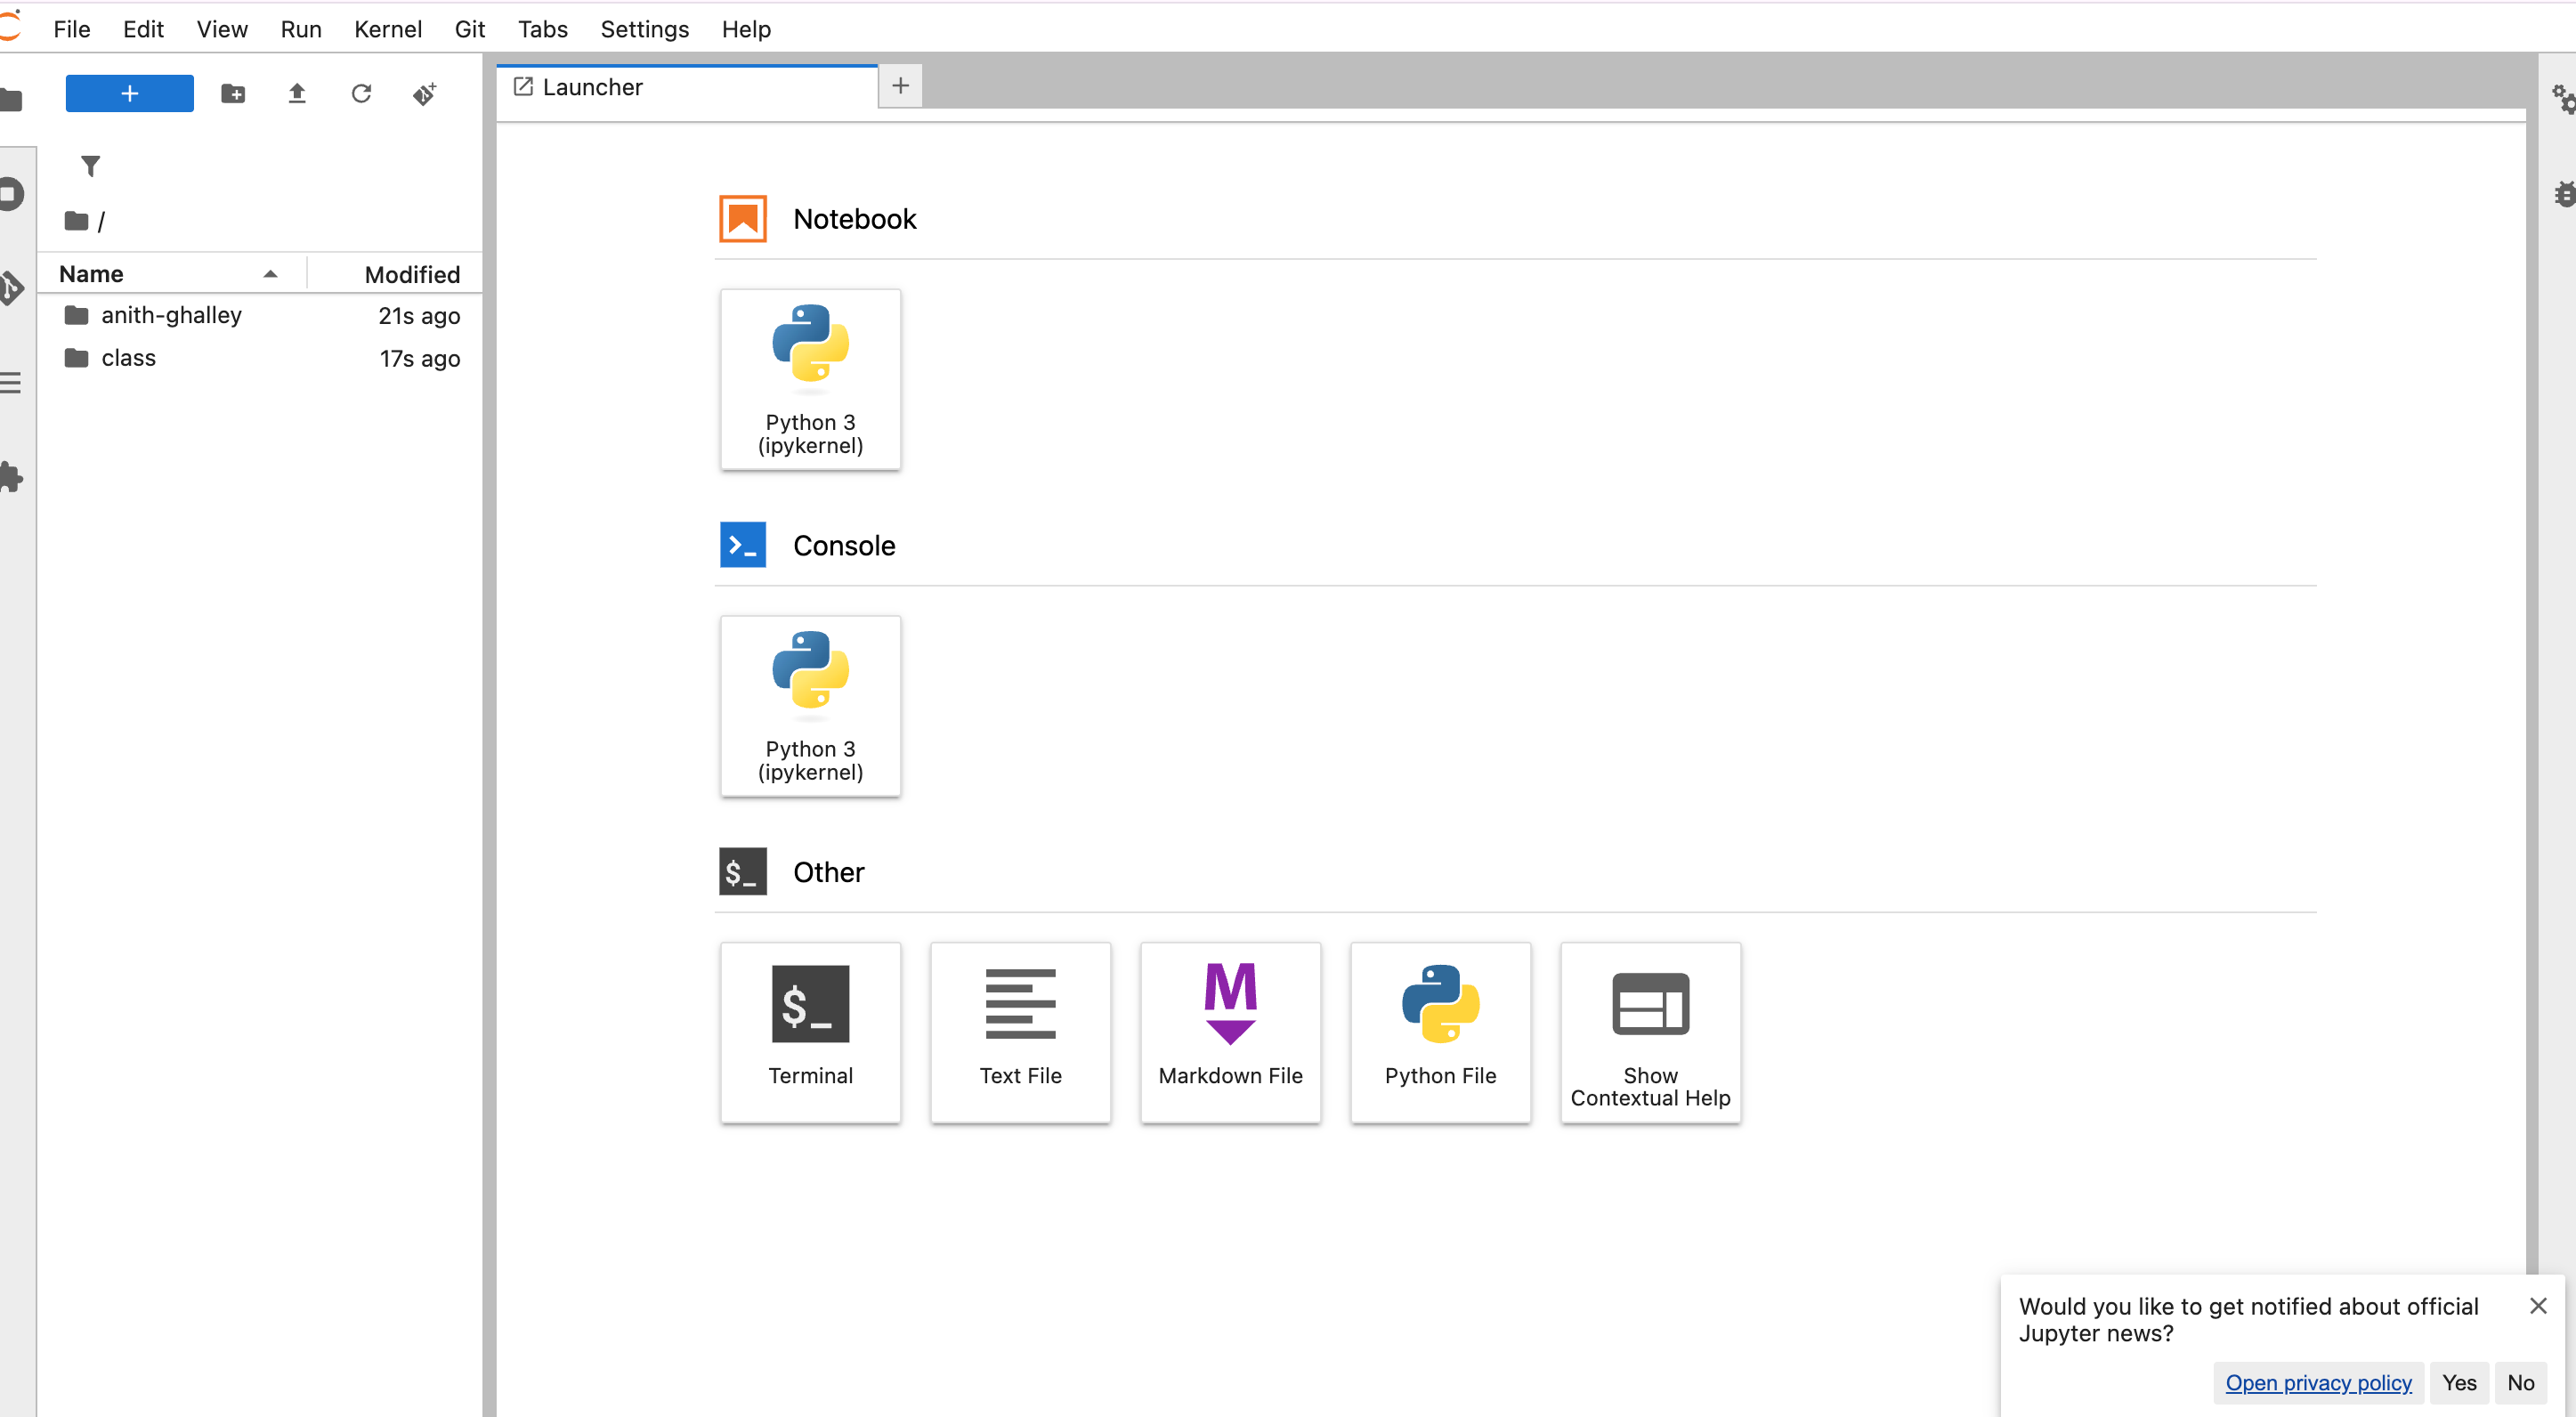
I found that the three main interface aspect of the Notebook are:
- Menu Bar : at the top of JupyterLab has top-level menus that expose actions available in JupyterLab
- Left panel : contains a file browser, the list of running kernels and terminals, the command palette, the notebook cell tools inspector, and the tabs list.
- Main Work Area : In this panel, I can open different files and work to make changes to my assignment.
The Link shared in the assignment was very useful and through that docs i was able to learn about the interface of the juypter notebook.
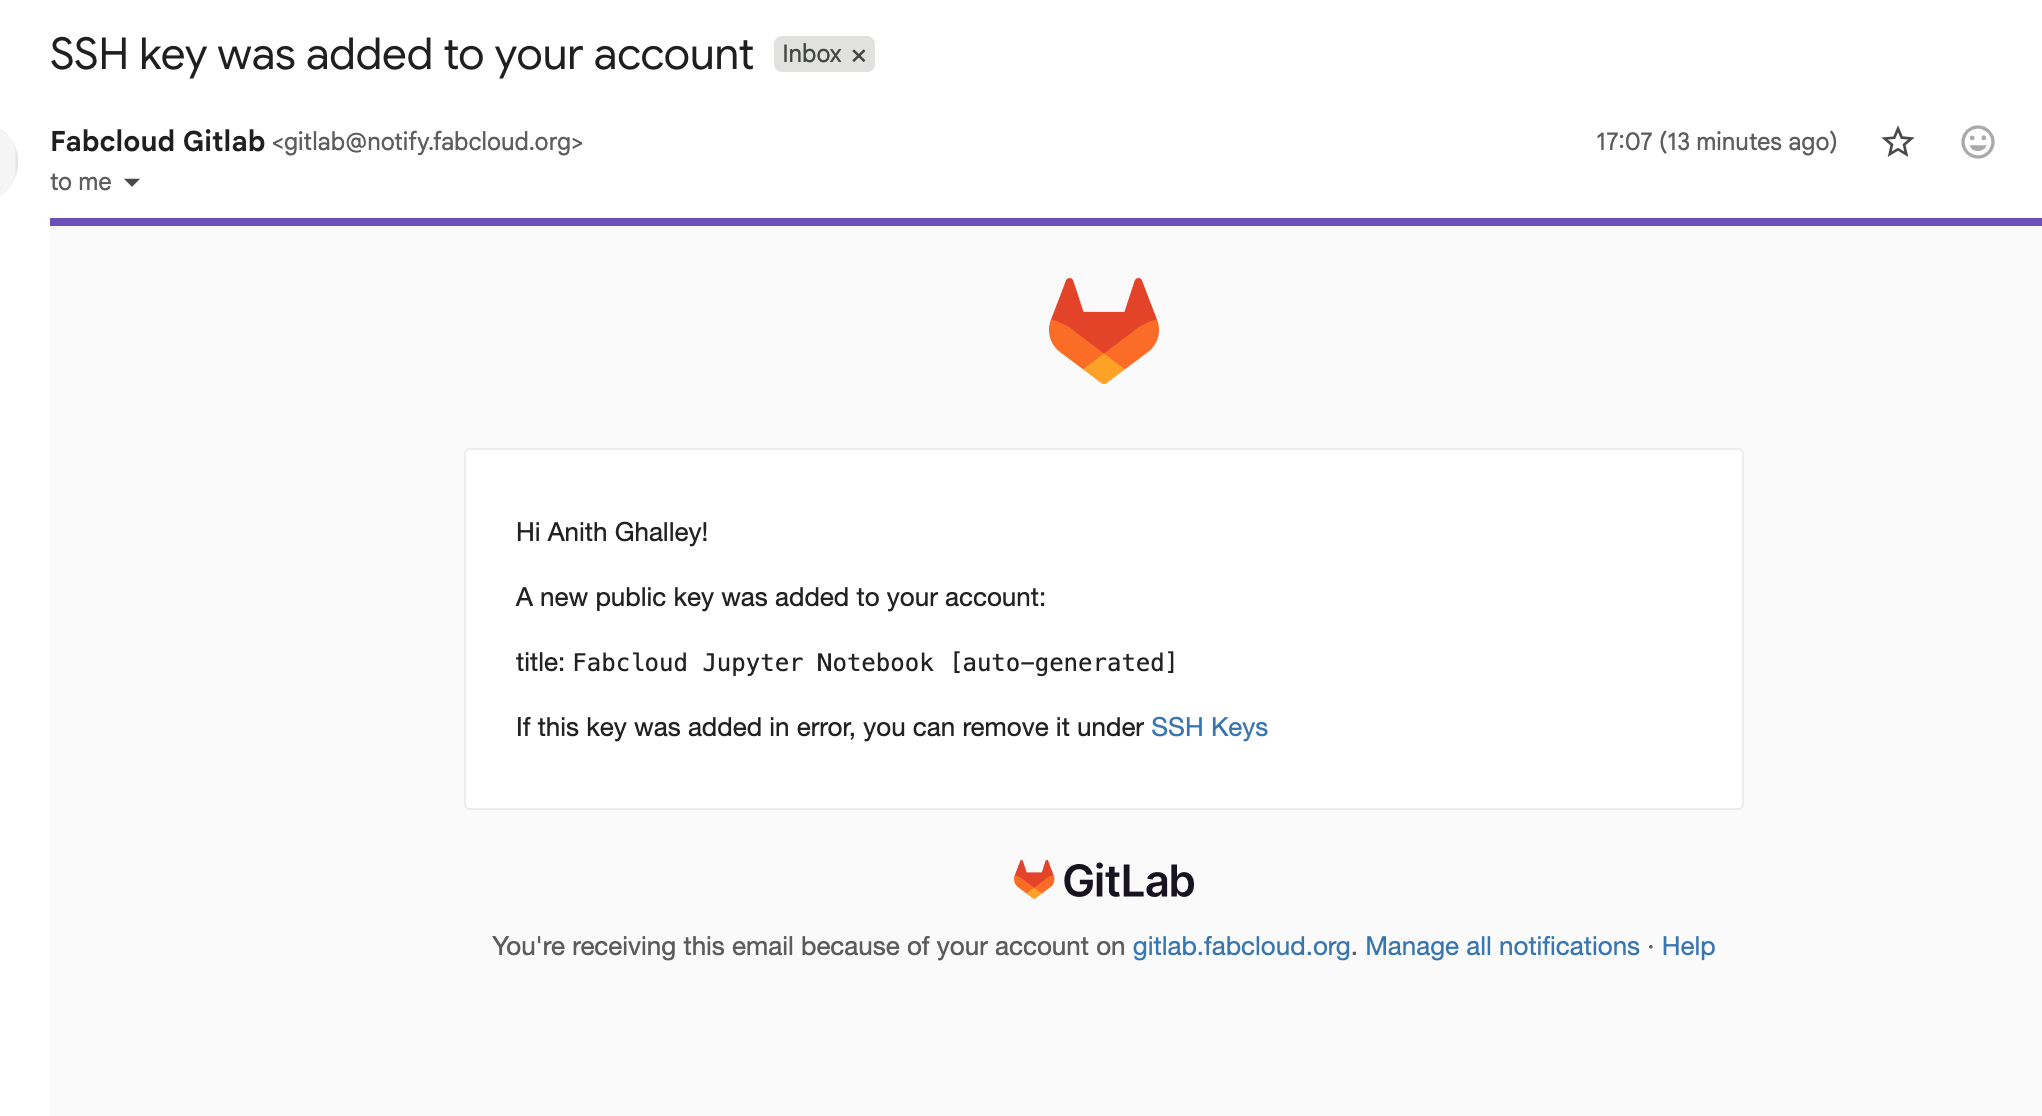
It was quite interesting to see that when I was able to connect with my juypter notebook, it automatically created a SSH key to connect with my Git Repository making a clear workflow between juypter and Git repo.
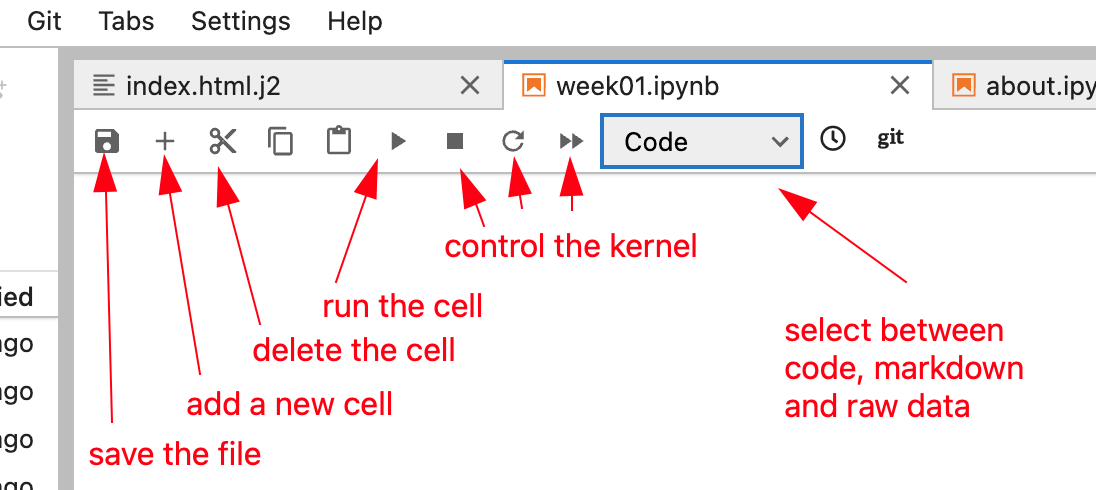
After learn about the interface of the notebook then I decided to learn how to use the languages (Raw Data, Markdown and Code) in my note book which can be seen when you open a .ipynb filr on your work area as shown below
Website Nav Bar
I decided make some changes in my website design and for now i am just editing the Navigation bar and for this i used ChatGPT to help me make some design changes by editing the index file inside the theme folder.
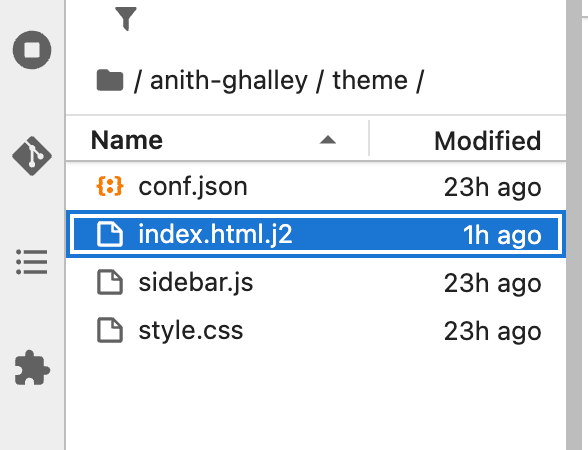
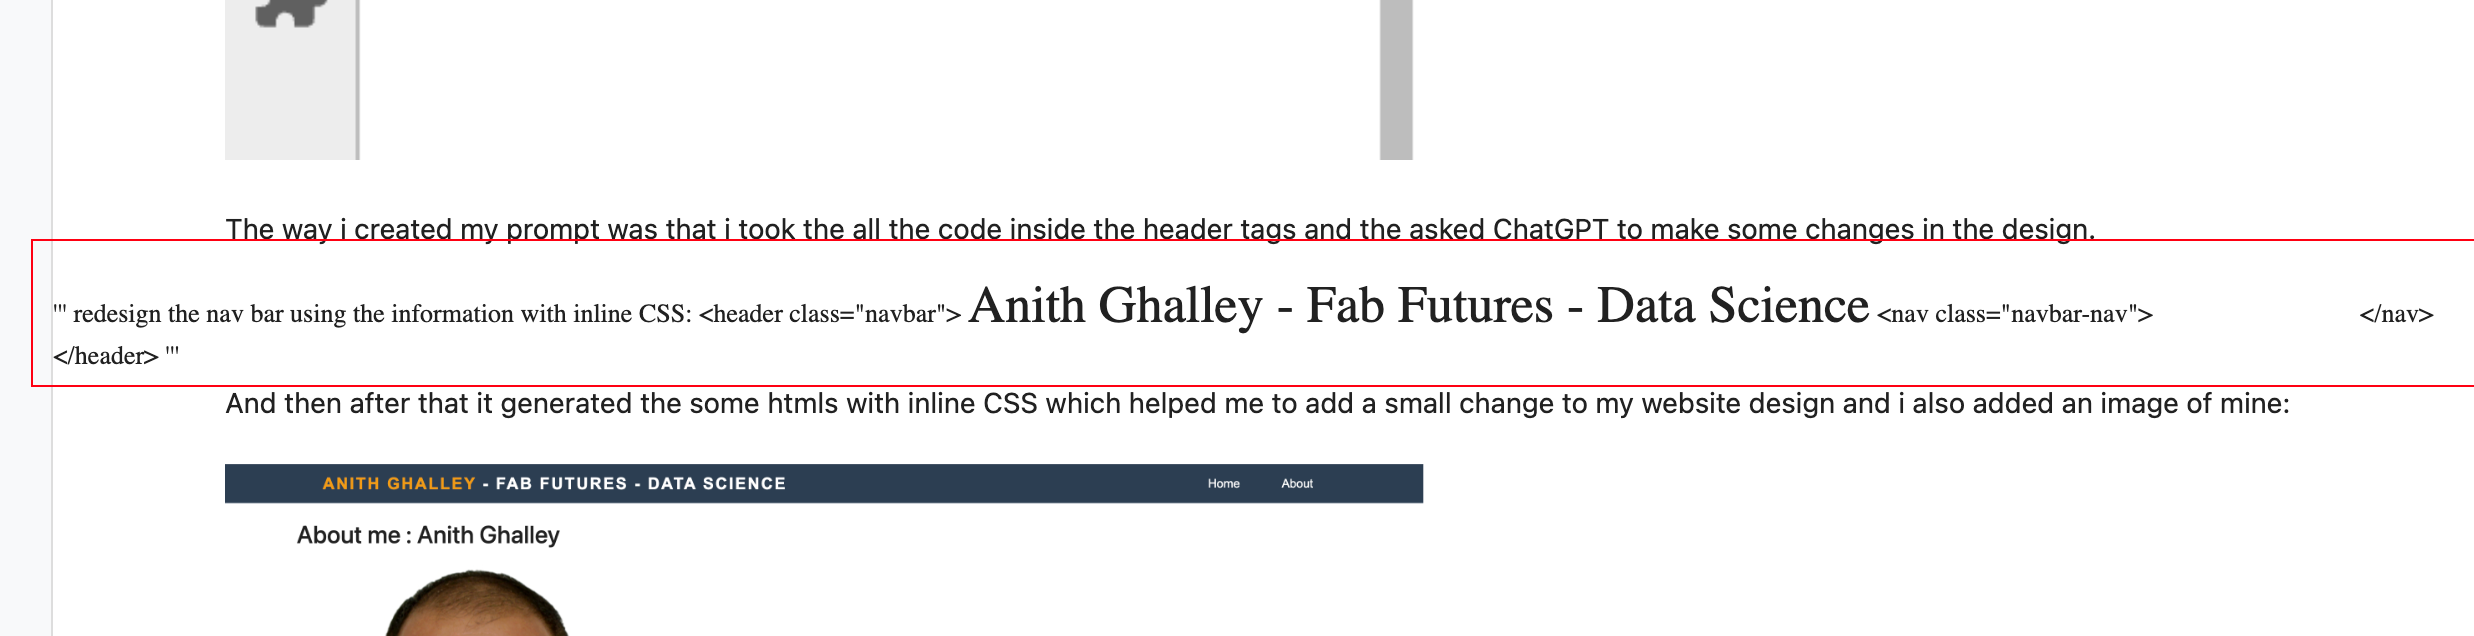
The way i created my prompt was that i took the all the code inside the header tags and the asked ChatGPT to make some changes in the design.
redesign the nav bar using the information below with inLine CSS
<header class="navbar"> <div class="title">Anith Ghalley - Fab Futures - Data Science</div> <nav class="navbar-nav"> <a href="/futures/data-science/2025/labs/dgi/students/anith-ghalley/" class="navbar-link">Home</a> <a href="/futures/data-science/2025/labs/dgi/students/anith-ghalley/about.html" class="navbar-link">About</a> </nav> </header>
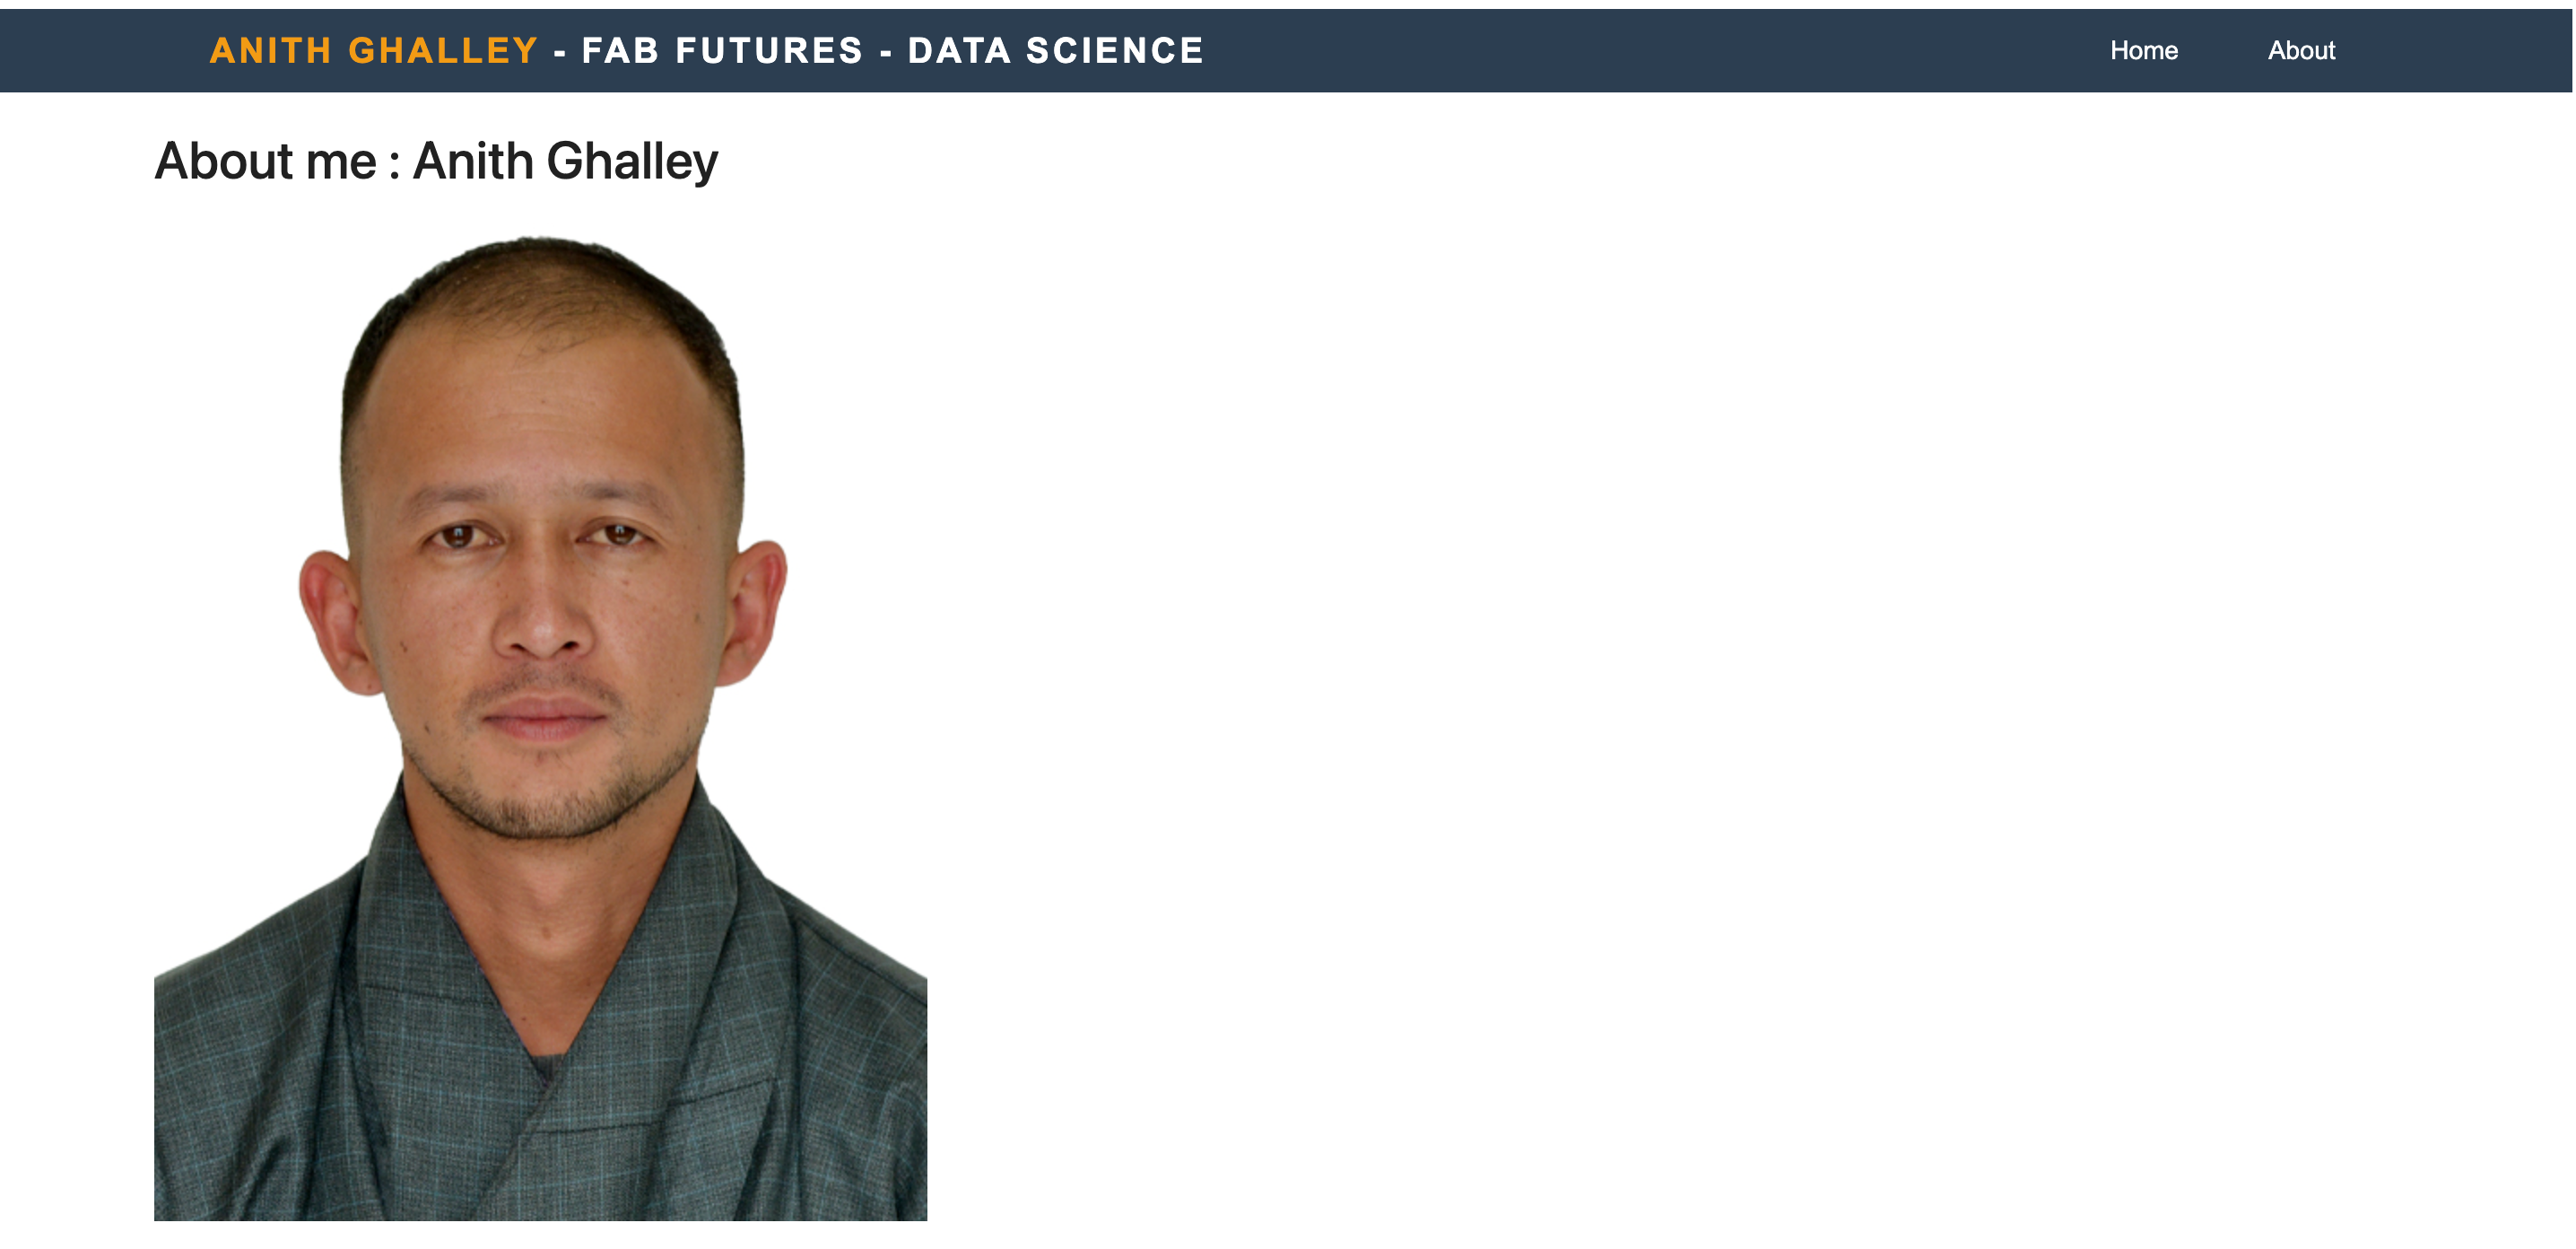
And then after that it generated the some htmls with inline CSS which helped me to add a small change to my website design and i also added an image of mine:
Pushing the file to Git
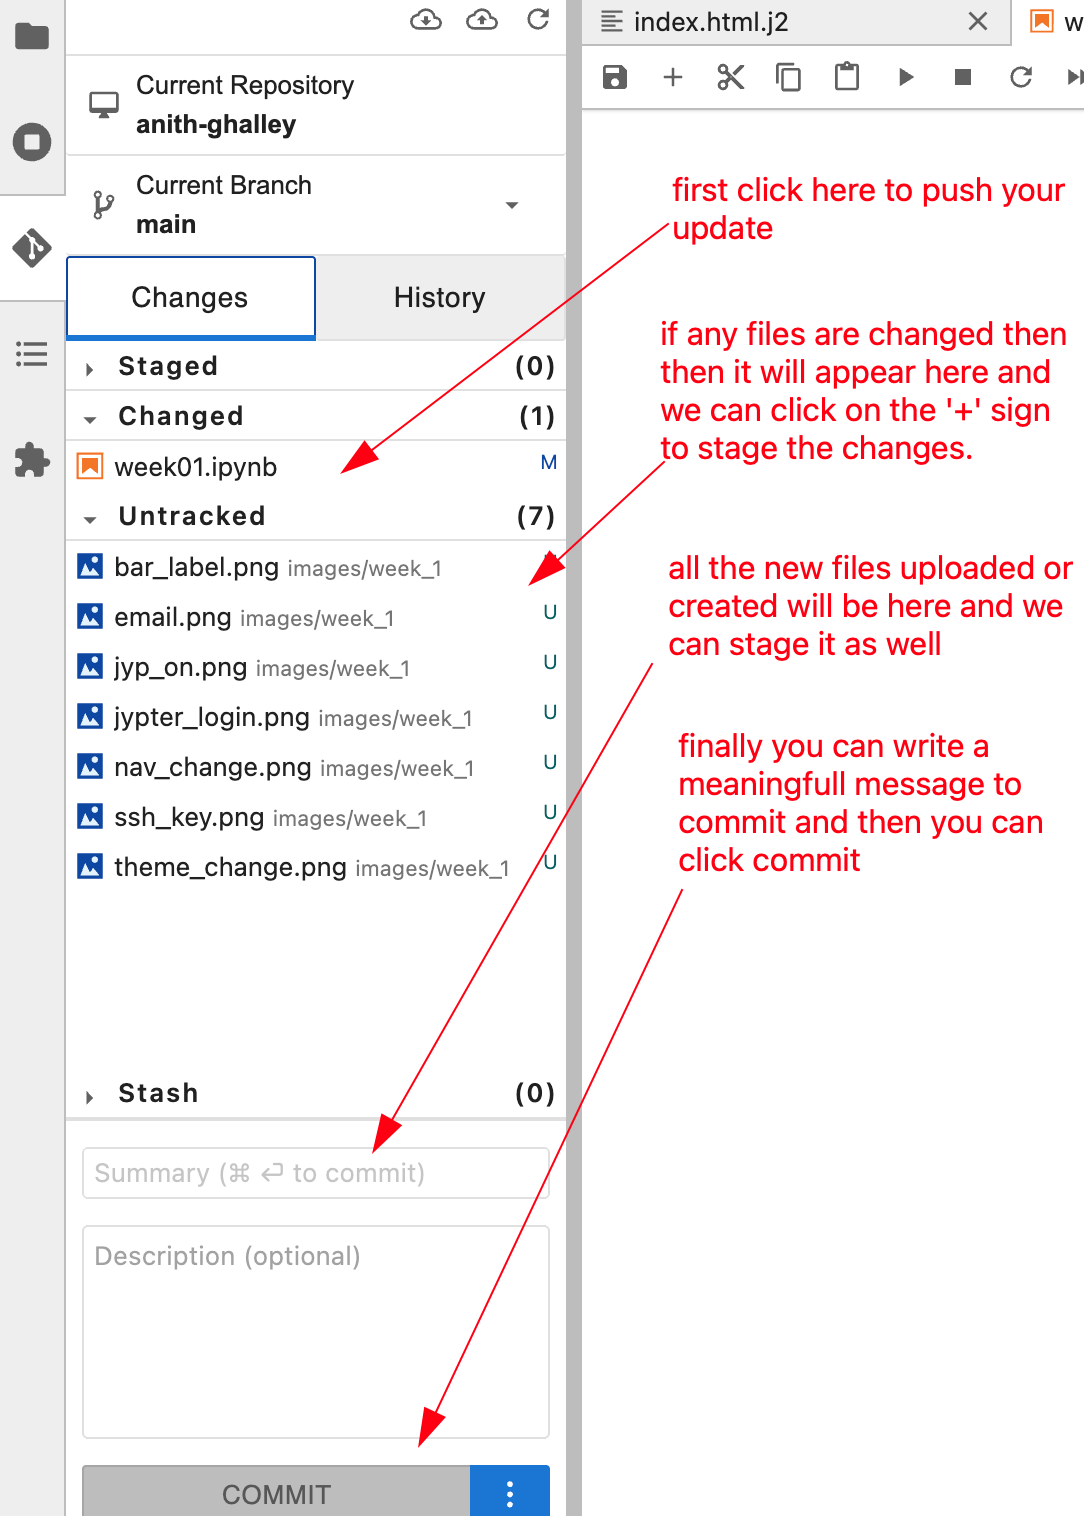
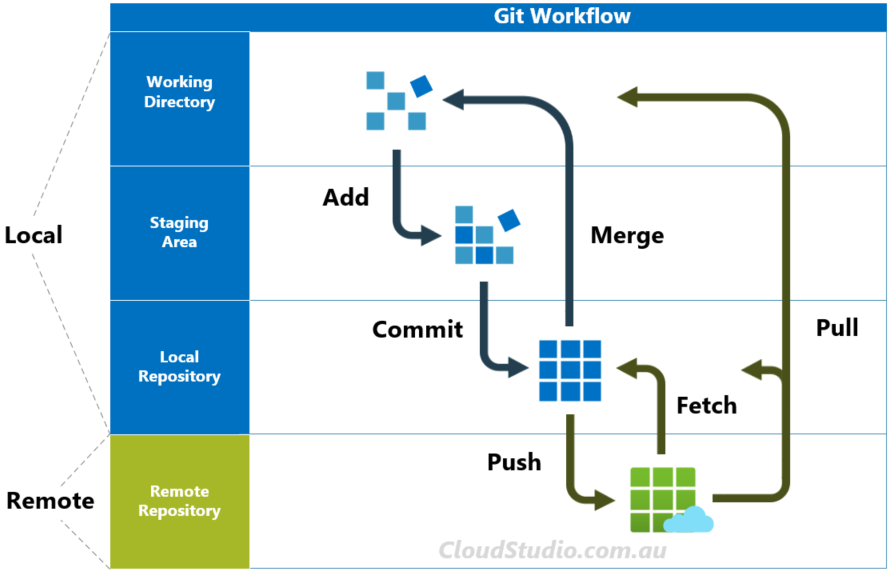
During the class, Prof. Neil and Jean Mitchele taught us on how to update the changes in our assignment and the process to update the git repository directly from our Juypter Notebook. Given below is what i learned during the session. Before staging dont forget to save your files.
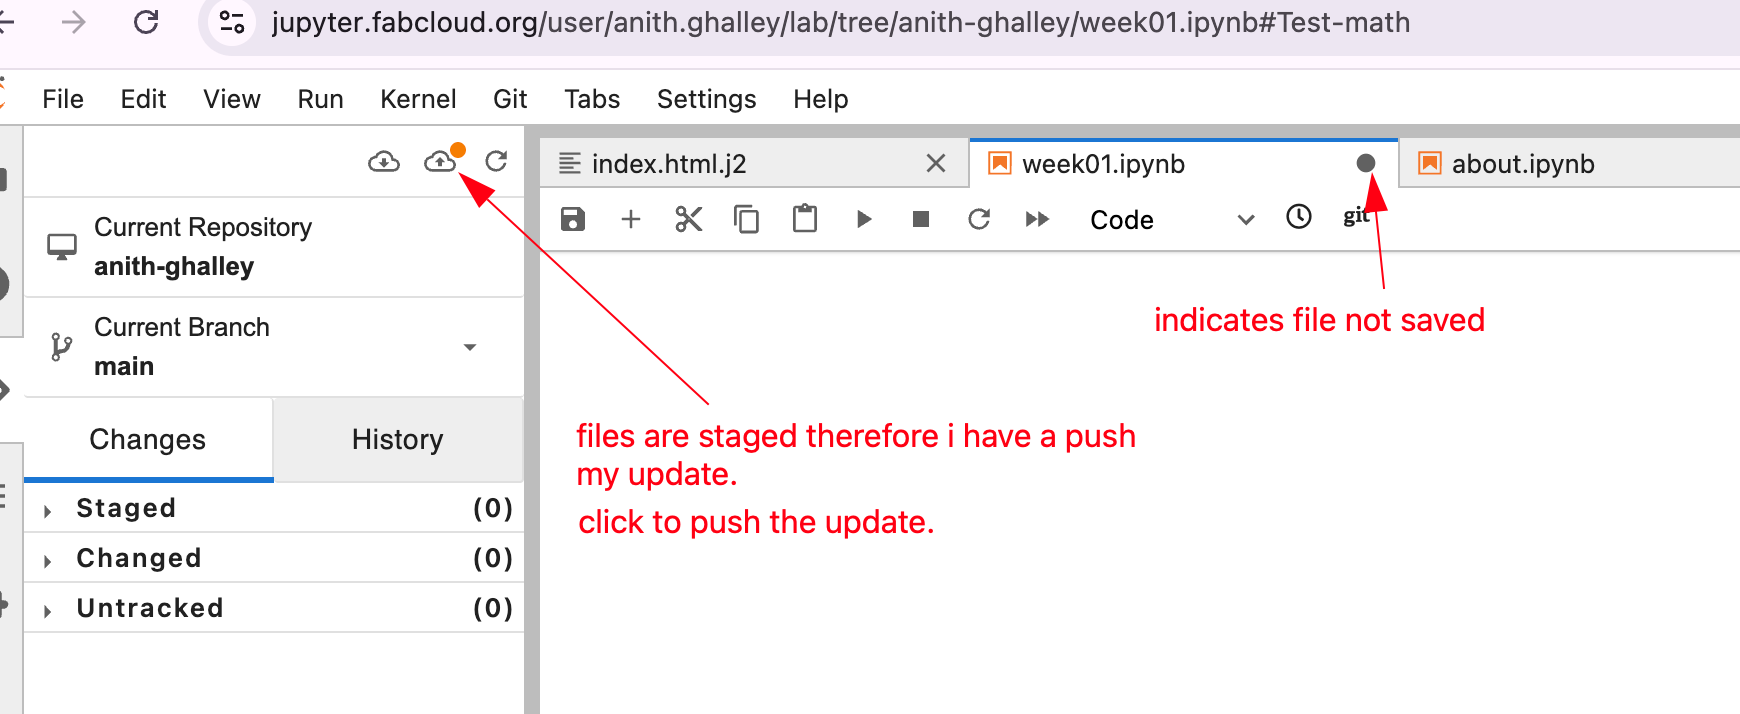
Then finally to push my update to my Git Repository i had to push the staged file so that my website will be updated and with help from Mattermost platform, Adrian helped me to find a cloud logo at the top right corner, The logo was visible and it was to pull and push the file to gitlab and since i havent pushed my upadte a green dot was on it, which means i had some staged files to be pushed.
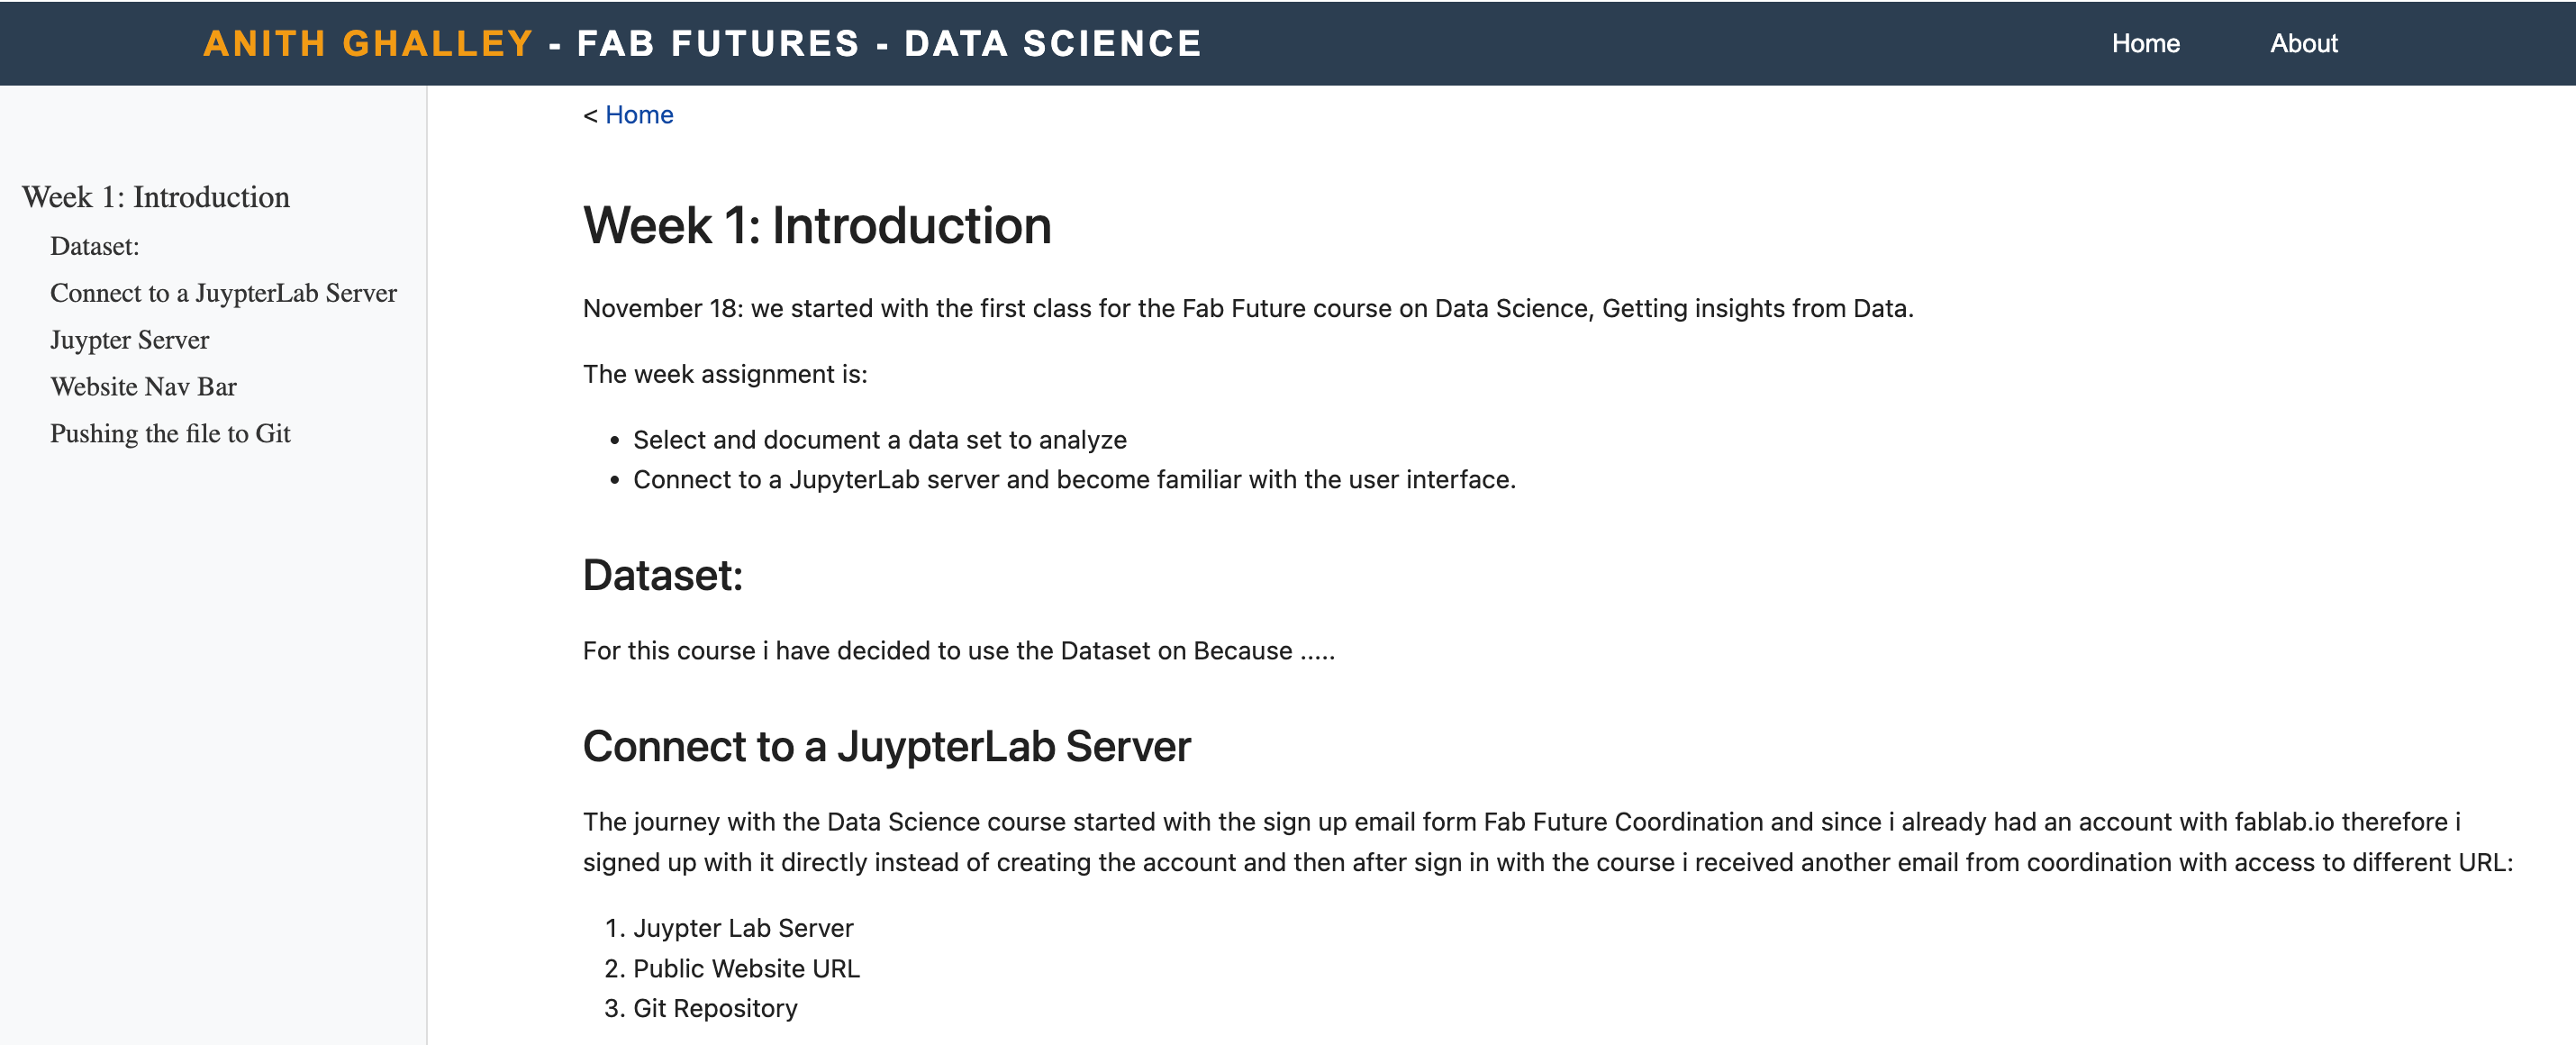
And finally i was able to update part of my first assignment:
Problems faced.
Not able update my website
as i have mentioned above, i was not able to update my website but with support form Adrian through mattermost i learned the clear process of how Git work with Juypter notebook. image source
Markdown
It was long time back since i was using the markdown therefore it was crucial for me to revise my understanding with the symple syntax of markdown, therefore this link
Add and Resizing the image
As I was documenting my work, i tried to add image and using the markdown syntax i embedded the image but i was unable to resize it to make sure my documentation looks good therefore i explored online and the youtube vide below was very useful.
therefore now i use this format to insert the resize image to my documentation as shared bwlow
<img src = "file_path/URL" style = " width : 600px"/>
Add Code in Documentation
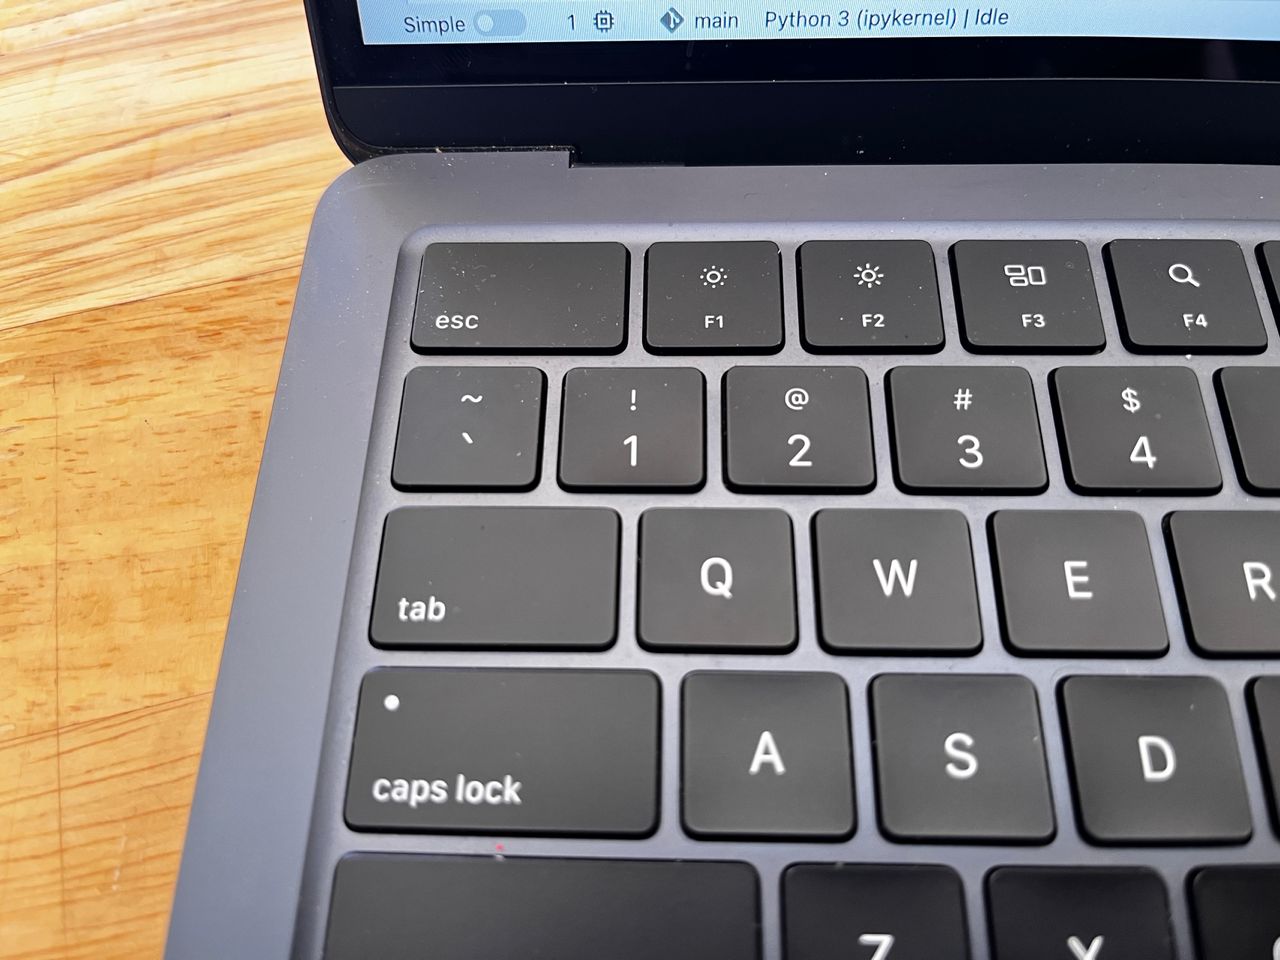
I wanted to add the important codes to be documented so that i will be able keep record. Earlier i tried to insert the code snippet as "Raw Data" but it gave some issues in my website as shown below:
from various sources, i learned from different sources that to use the the button marked below, which you can find just below the ESC button, i.e ` :
Overall the the whole process of learning the new platform and science seems a great fun and I look forward to learn more