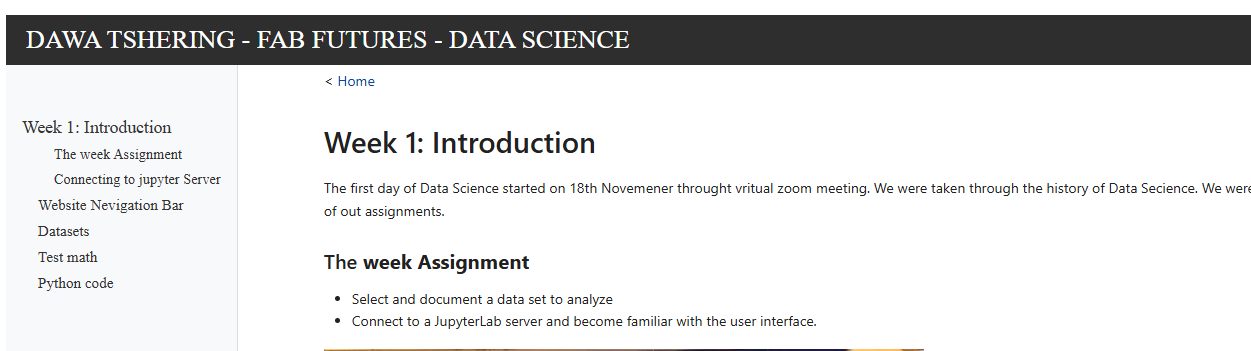
Week 1 - Introduction
The first day of Data Science started on 18th Novemener throught vritual zoom meeting. We were taken through the history of Data Secience. We were also oriented through the Fab Future Course and design of class and evaluation/assessment of out assignments.
The Week Assignemnt
- Select and document a data set to analyze.
- Connect to a JupyterLab server and become familiar with the user interface.
Connecting to Jupyter Server
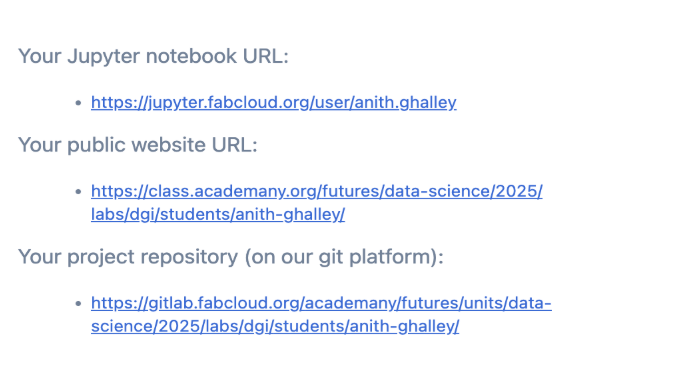
The Fab Future Coordinating team mailed me a sign-up email, which marked the beginning of my Data Science course. I joined the course using my existing fablab.io account instead of making a new one. The coordination team provided me another email after I signed in, providing me access to three essential links:
Jupyter Lab Server
URL of a public website
Git Archive
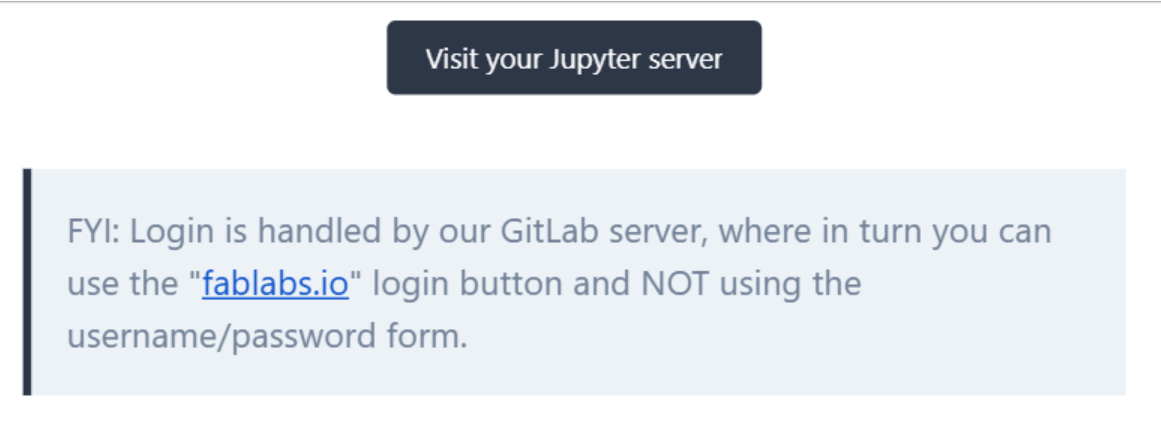
First, I opened the Jupyter Notebook URL to start learning and using the notebook platform. When logging in, I did not create a new account because I already had a fablab.io account. I used this existing account to sign in directly. Through fablab.io, I was able to access the server using FabCloud. This made the login process simple and quick. After signing in successfully, I could start exploring the Jupyter Notebook environment and work on my tasks. Using FabCloud helped me connect easily to the platform without any difficulties, allowing me to focus more on learning and practicing with Jupyter Notebook tools.
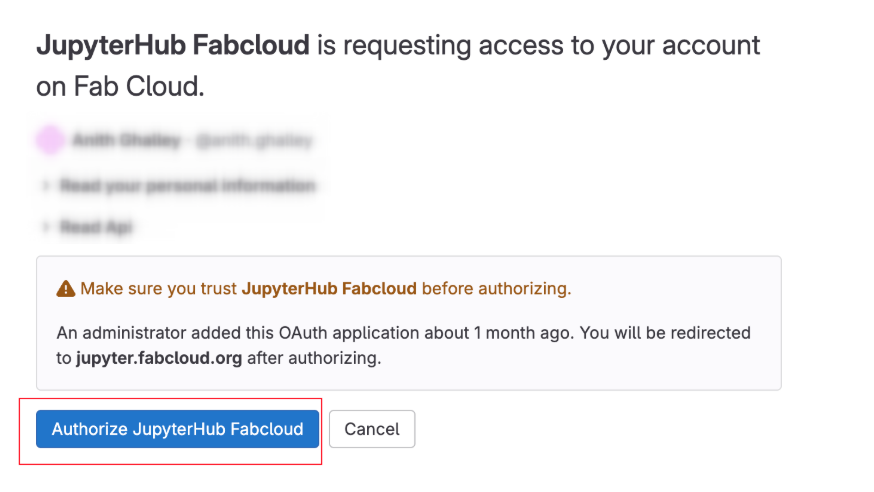
This ensured that I was using the FabCloud server, where my website and Git repository are already connected. Because of this connection, I could easily access my Jupyter Notebook with all the required course files already available. Everything was set up from the beginning, so I did not need to upload or configure anything again. This made my work smoother and saved time, allowing me to focus on learning and completing my course activities without any technical problems.
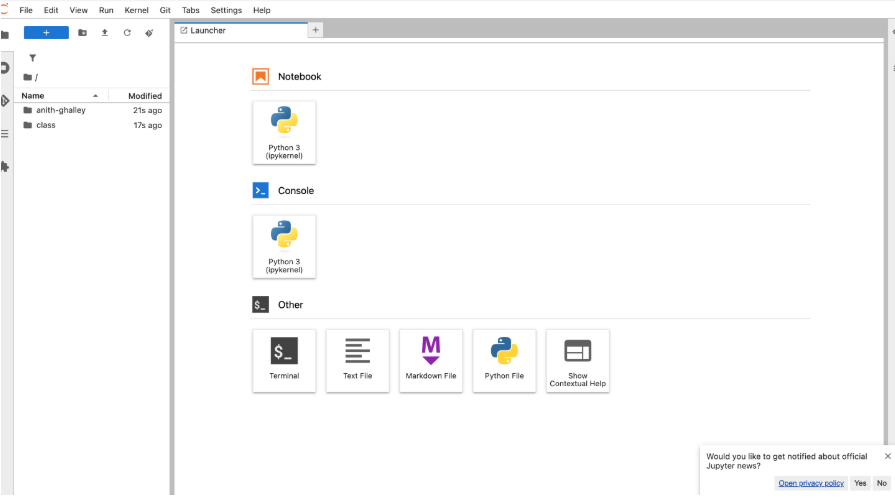
Jupyter Notebook has three main interface parts.
- Menu Bar: Located at the top, it shows different actions and options available in JupyterLab.
- Left Panel: Contains the file browser, running kernels, terminals, command tools, and list of open tabs.
- Main Work Area: This is where files are opened and assignments are edited.
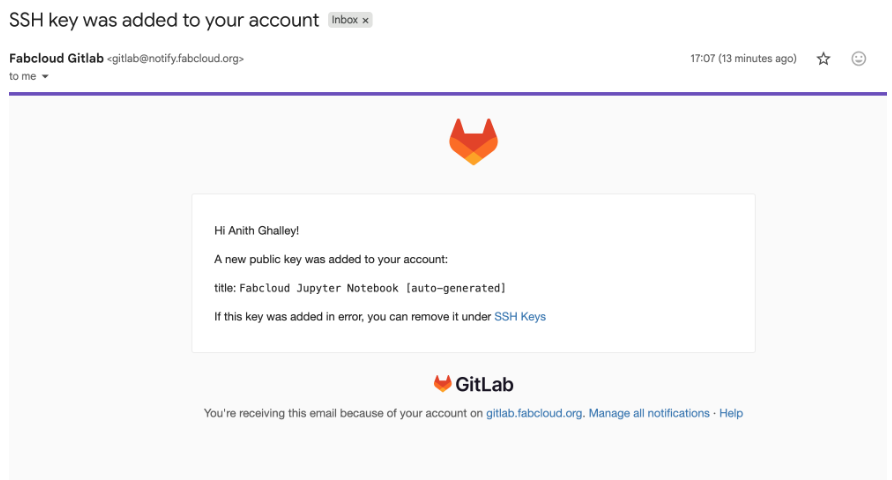
The link shared in the assignment was very helpful in understanding the Jupyter Notebook interface. When I connected to Jupyter Notebook, it automatically created an SSH key to link with my Git repository. This made the workflow between Jupyter Notebook and the Git repository smooth and well connected.
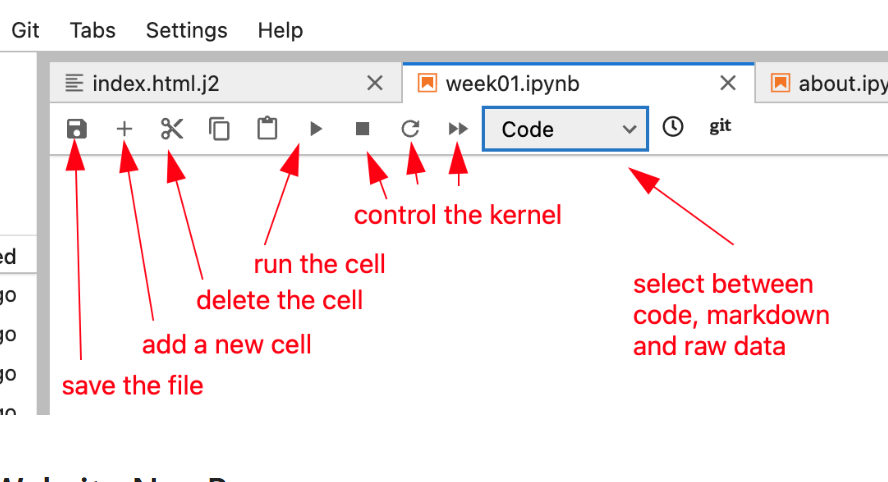
After learning about the notebook interface, I decided to understand how to use the different cell types in Jupyter Notebook. These include Raw Data, Markdown, and Code cells. These options are visible when opening a .ipynb file in the main work area, as shown below.
Navigation Bar
Pushing Files to Git
To update your assignment from Jupyter Notebook, first save all your files so your changes are not lost. Then open the Terminal in Jupyter Notebook, check the changes, add the updated files, commit them, and finally push them to Git. This process updates your assignment in the Git repository.
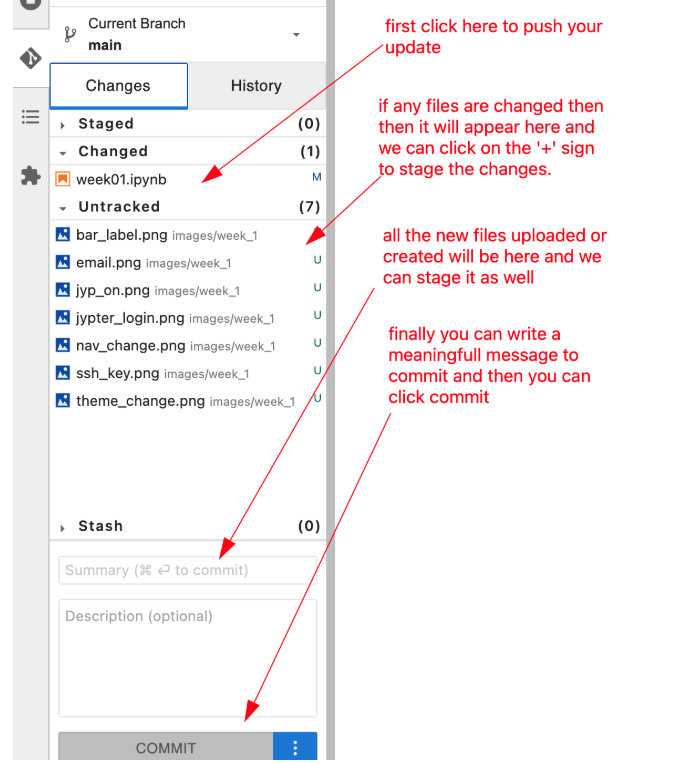
Finally, to update my Git repository, I needed to push the staged files so my website would reflect the changes. I found the cloud logo at the top right corner. The logo was visible, showing the option to pull and push files to GitLab. Since I hadn’t pushed my updates yet, a green dot appeared, indicating there were staged files waiting to be pushed.

Finally, I managed to update a portion of my first assignment.