Microelectronics Tools Setup
This guide will help you set up the necessary tools for the Microelectronics class.
Overview
We will be using an all-in-one Docker container, which is a collection of open-source electronic design automation (EDA) tools for our class. You can find the source repository at github.com/iic-jku/IIC-OSIC-TOOLS. There are two ways to use this tools container, either through our hosted platform or by running it locally on your machine.
Hosted Platform Access
We provide a hosted platform for all students where you get your own personal container with all the applications pre-installed, which is available at tools.futures.academany.org. You can login with your fabcloud details.
Accessing Your Container
There are two ways to get into your personal cloud container:
Method 1: Browser VNC
- Go to tools.futures.academany.org
- Login with your fabcloud credentials (through fablabs.io)
- On the dashboard, click on "start container" button
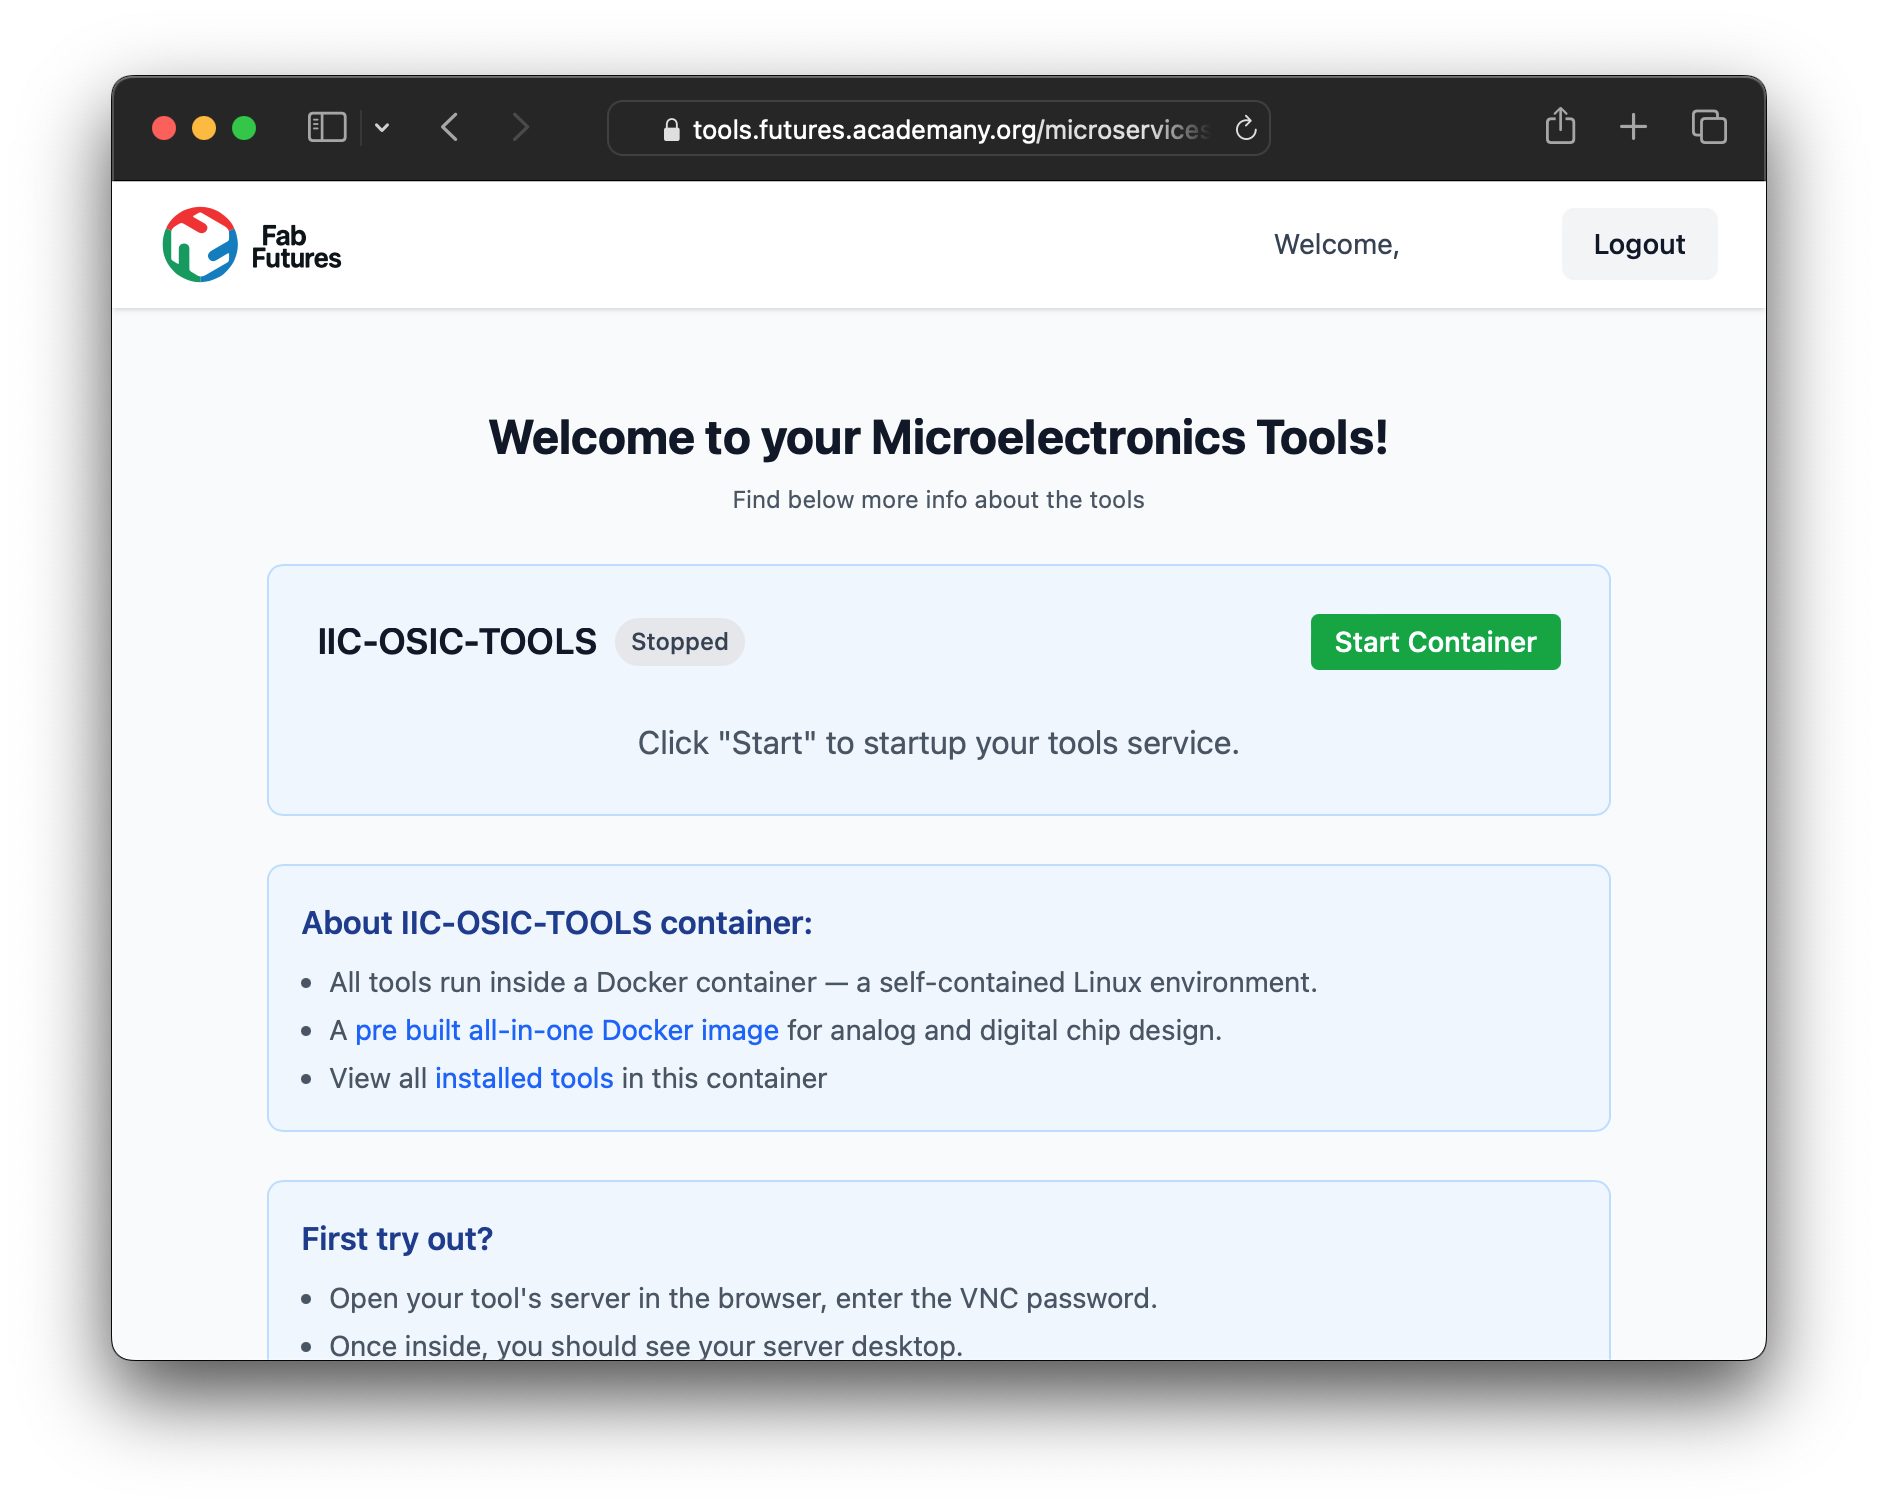
- Click on the "Open VNC" button
- The VNC session will open in a new browser tab
- Use the password from the tools platform page to connect
- You should see the tools desktop now. FYI, you may need to zoom out in the browser to see the full desktop.
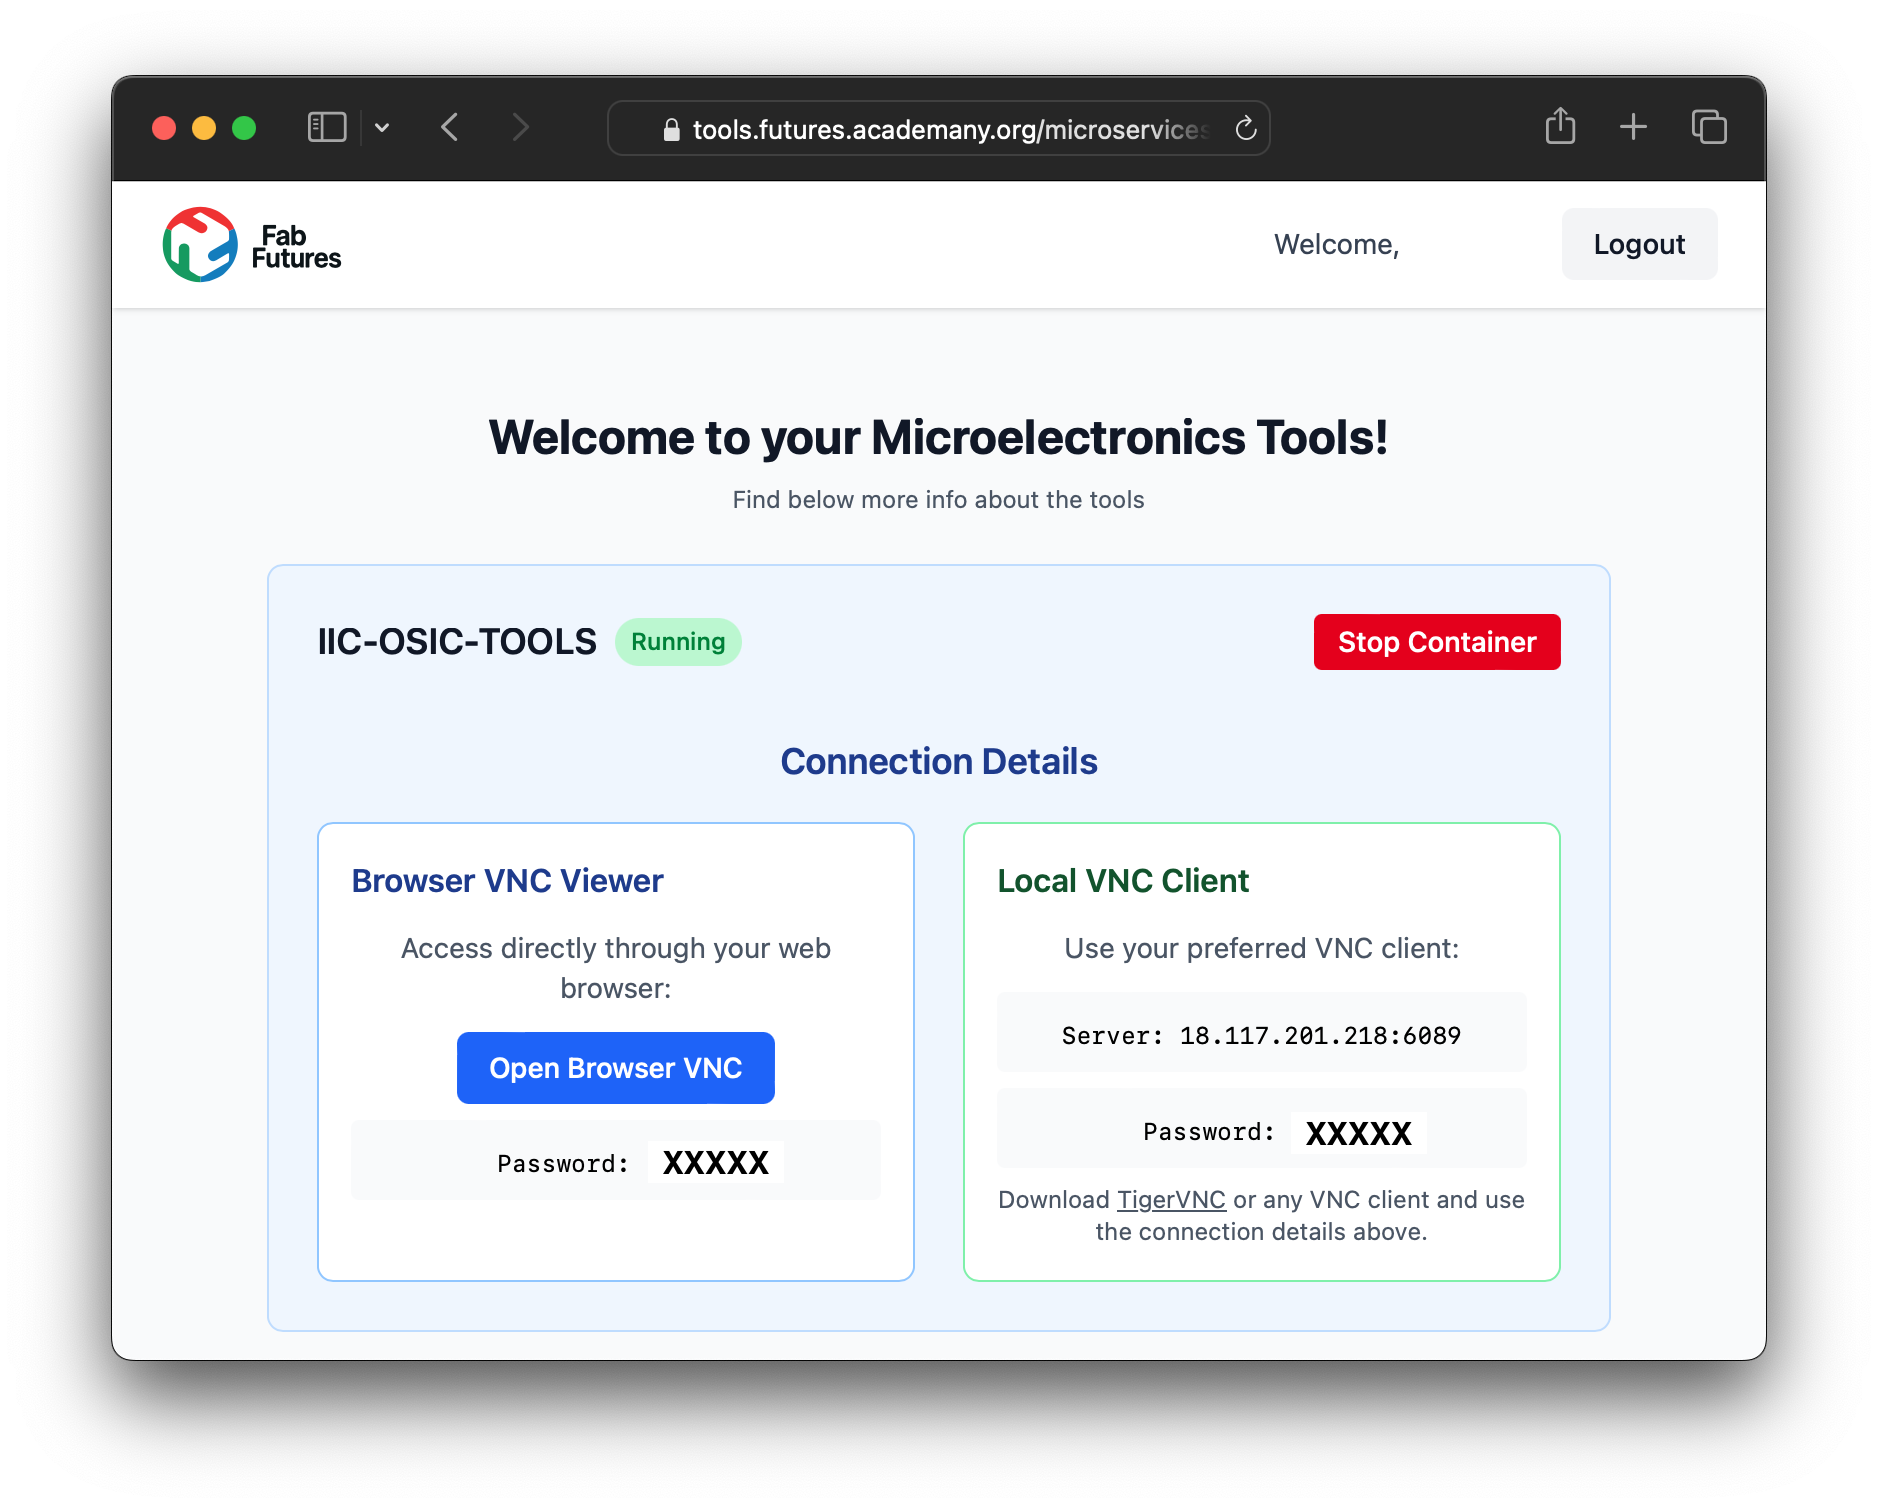
Method 2: VNC Client
Using a VNC client on your computer is a more convenient and efficient way to interact with the cloud container. The main benefits are better mouse/keyboard handling and copy/paste functionality.
-
Install a VNC client
a. MacOS has a built-in client. Go to Finder, then menubar "Go" -> "Connect to Server..." and enter the VNC connection details (ie.
vnc://18.117.201.218:6080) b. Alternative: Download and install a VNC client like TigerVNC -
Get the VNC connection details from tools.futures.academany.org
- (ie.
vnc://18.117.201.218:6080or just18.117.201.218:6080depending on your VNC client)
- (ie.
-
You should be asked a password which you can find on the tools platform page
Local Docker Setup
If you would like to run the tools container locally on your machine, you can do so by following these steps. Please note that this requires a significant amount of disk space (recommended: 10GB+) and a stable internet connection for the initial container download.
Step 1: Install Docker
- Download Docker Desktop from www.docker.com/products/docker-desktop
- Follow the installation instructions for your operating system
- Start Docker Desktop and ensure it's running

Step 2: Clone or download the Repository
You can go to the IIC-OSIC-TOOLS repository and download the repository as a zip file, or clone it using the following git command:
Step 3: Start the Container
Open your terminal and navigate to the IIC-OSIC-TOOLS folder, then run the following to start the container:
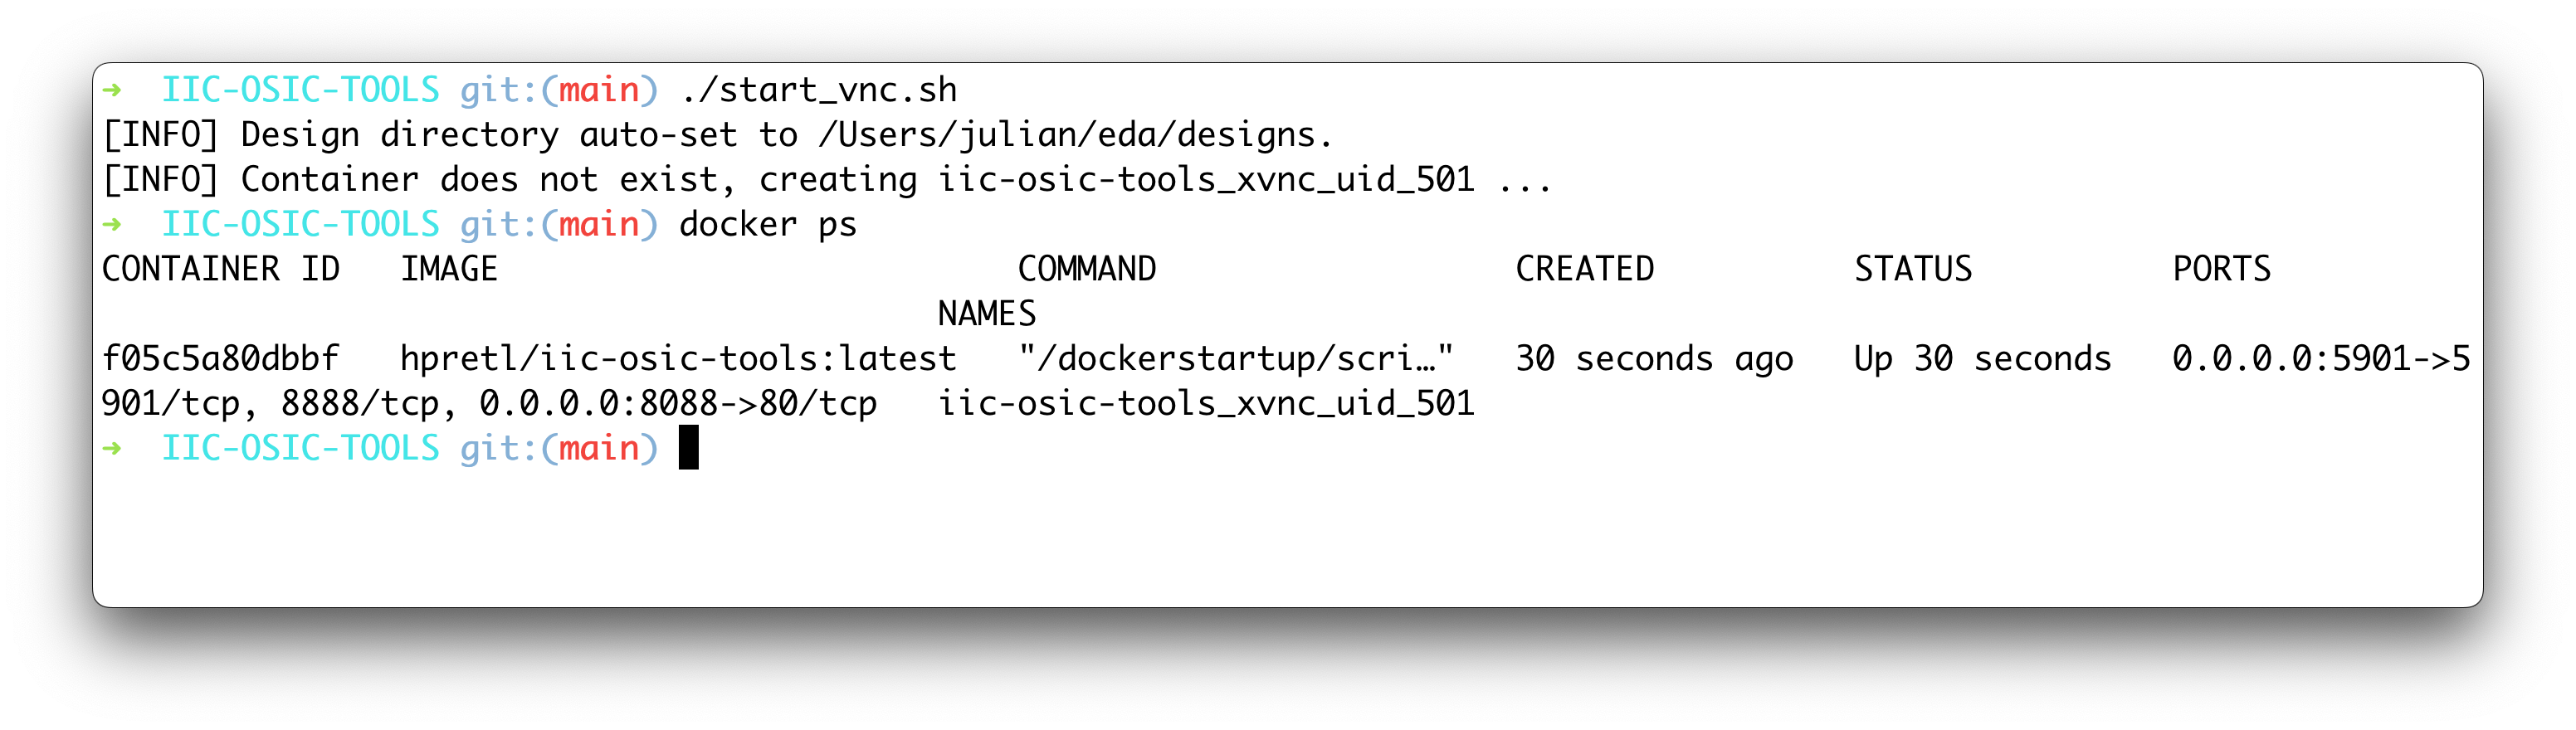
FYI: The first time you run this command, it will download the Docker image, which may take some time depending on your internet connection.
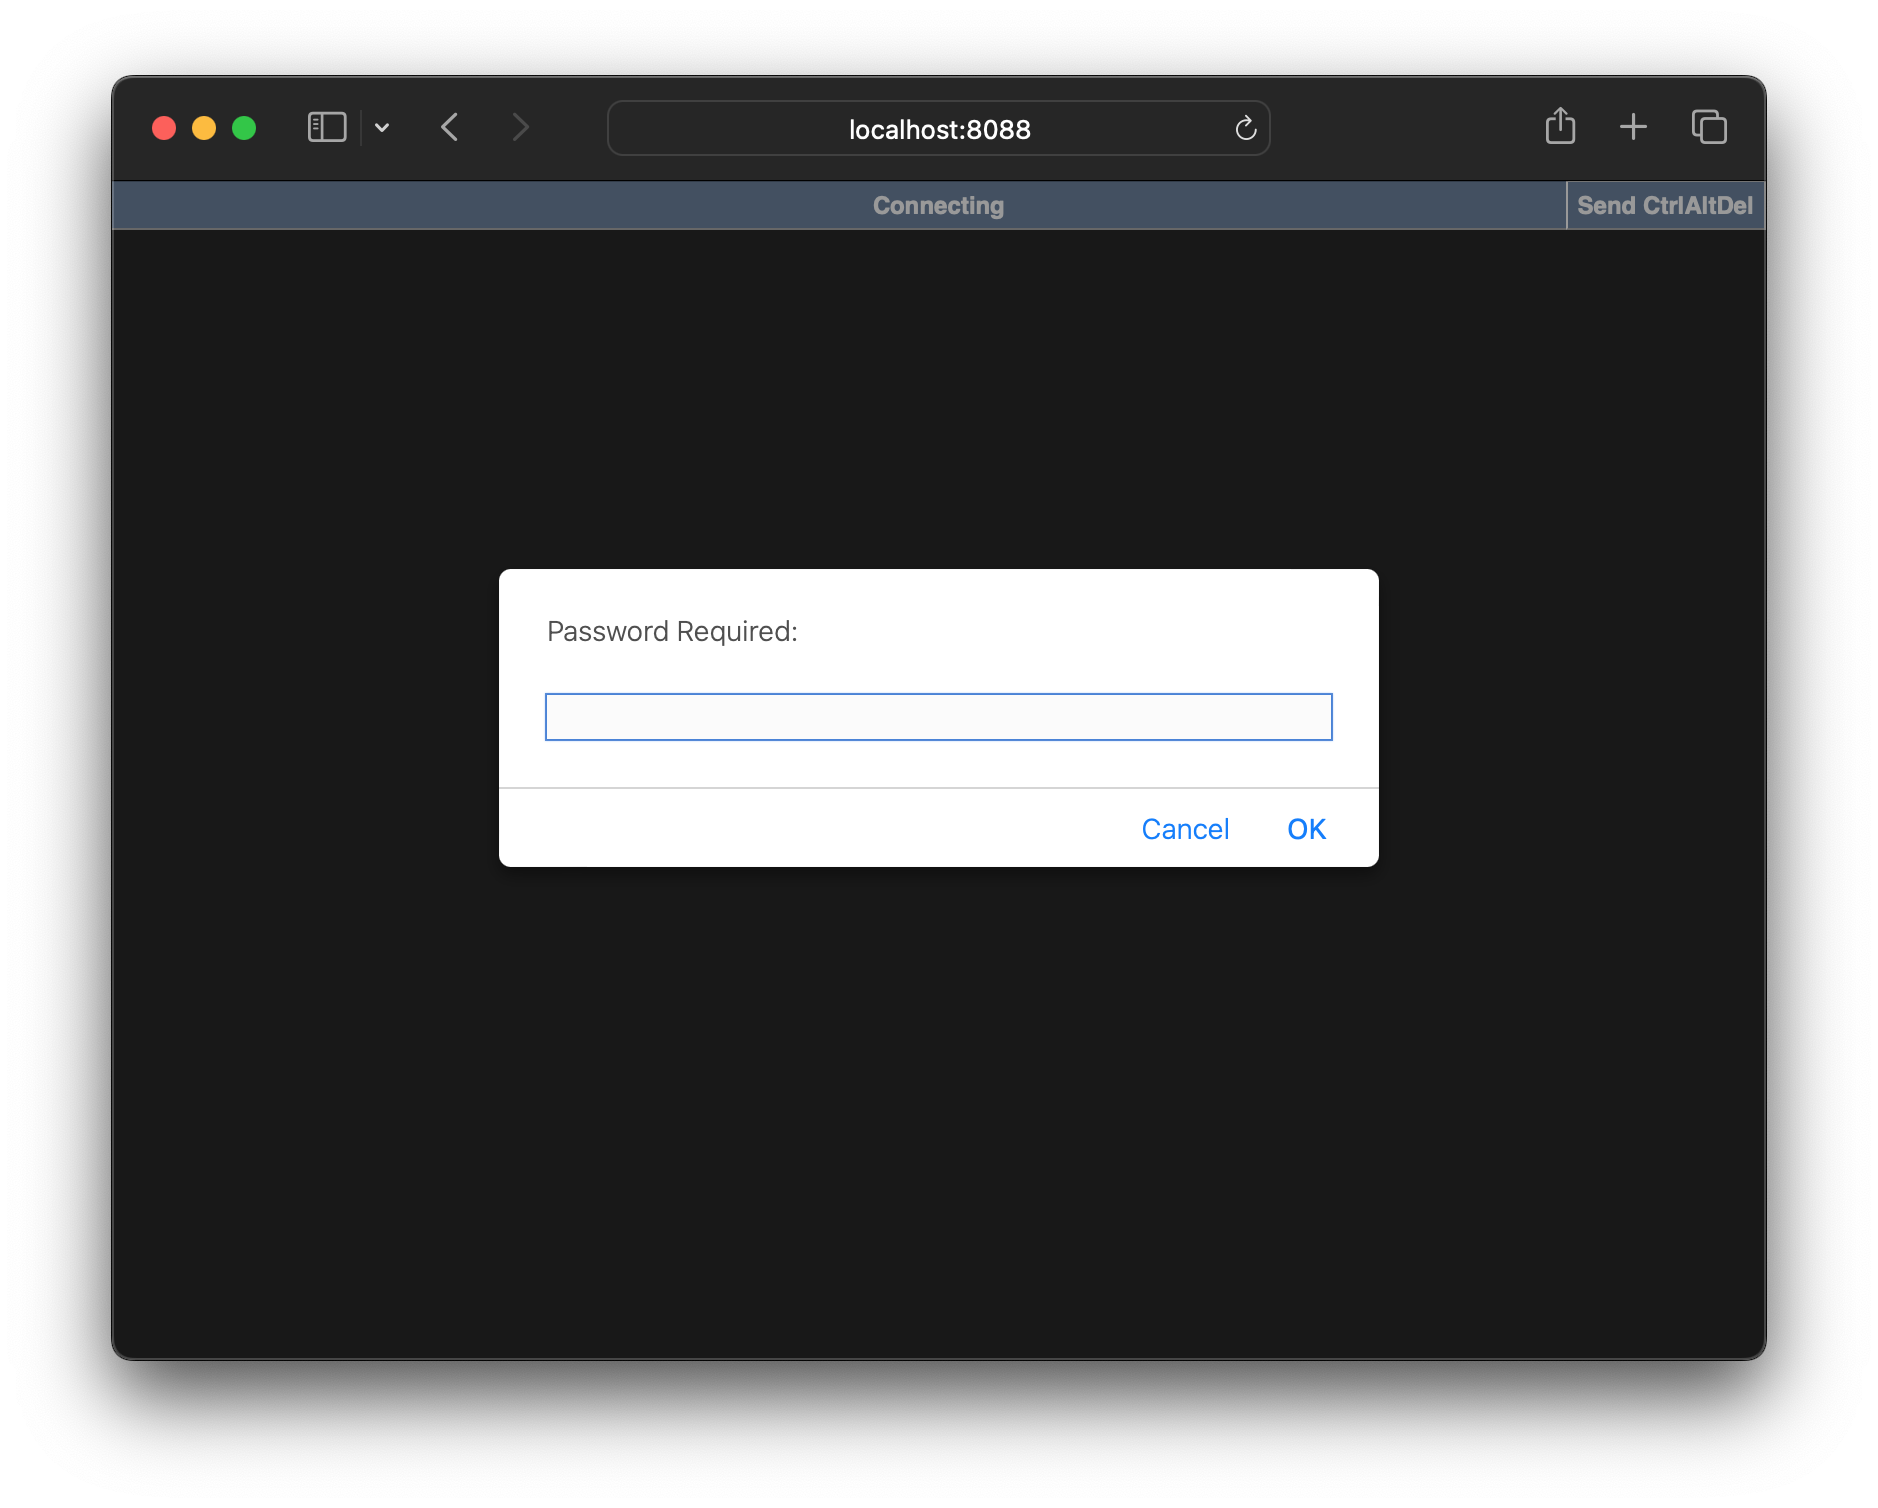
Step 4: Connect to VNC
Once the command completes, you should see no visible error messages in the terminal and the container should be running.
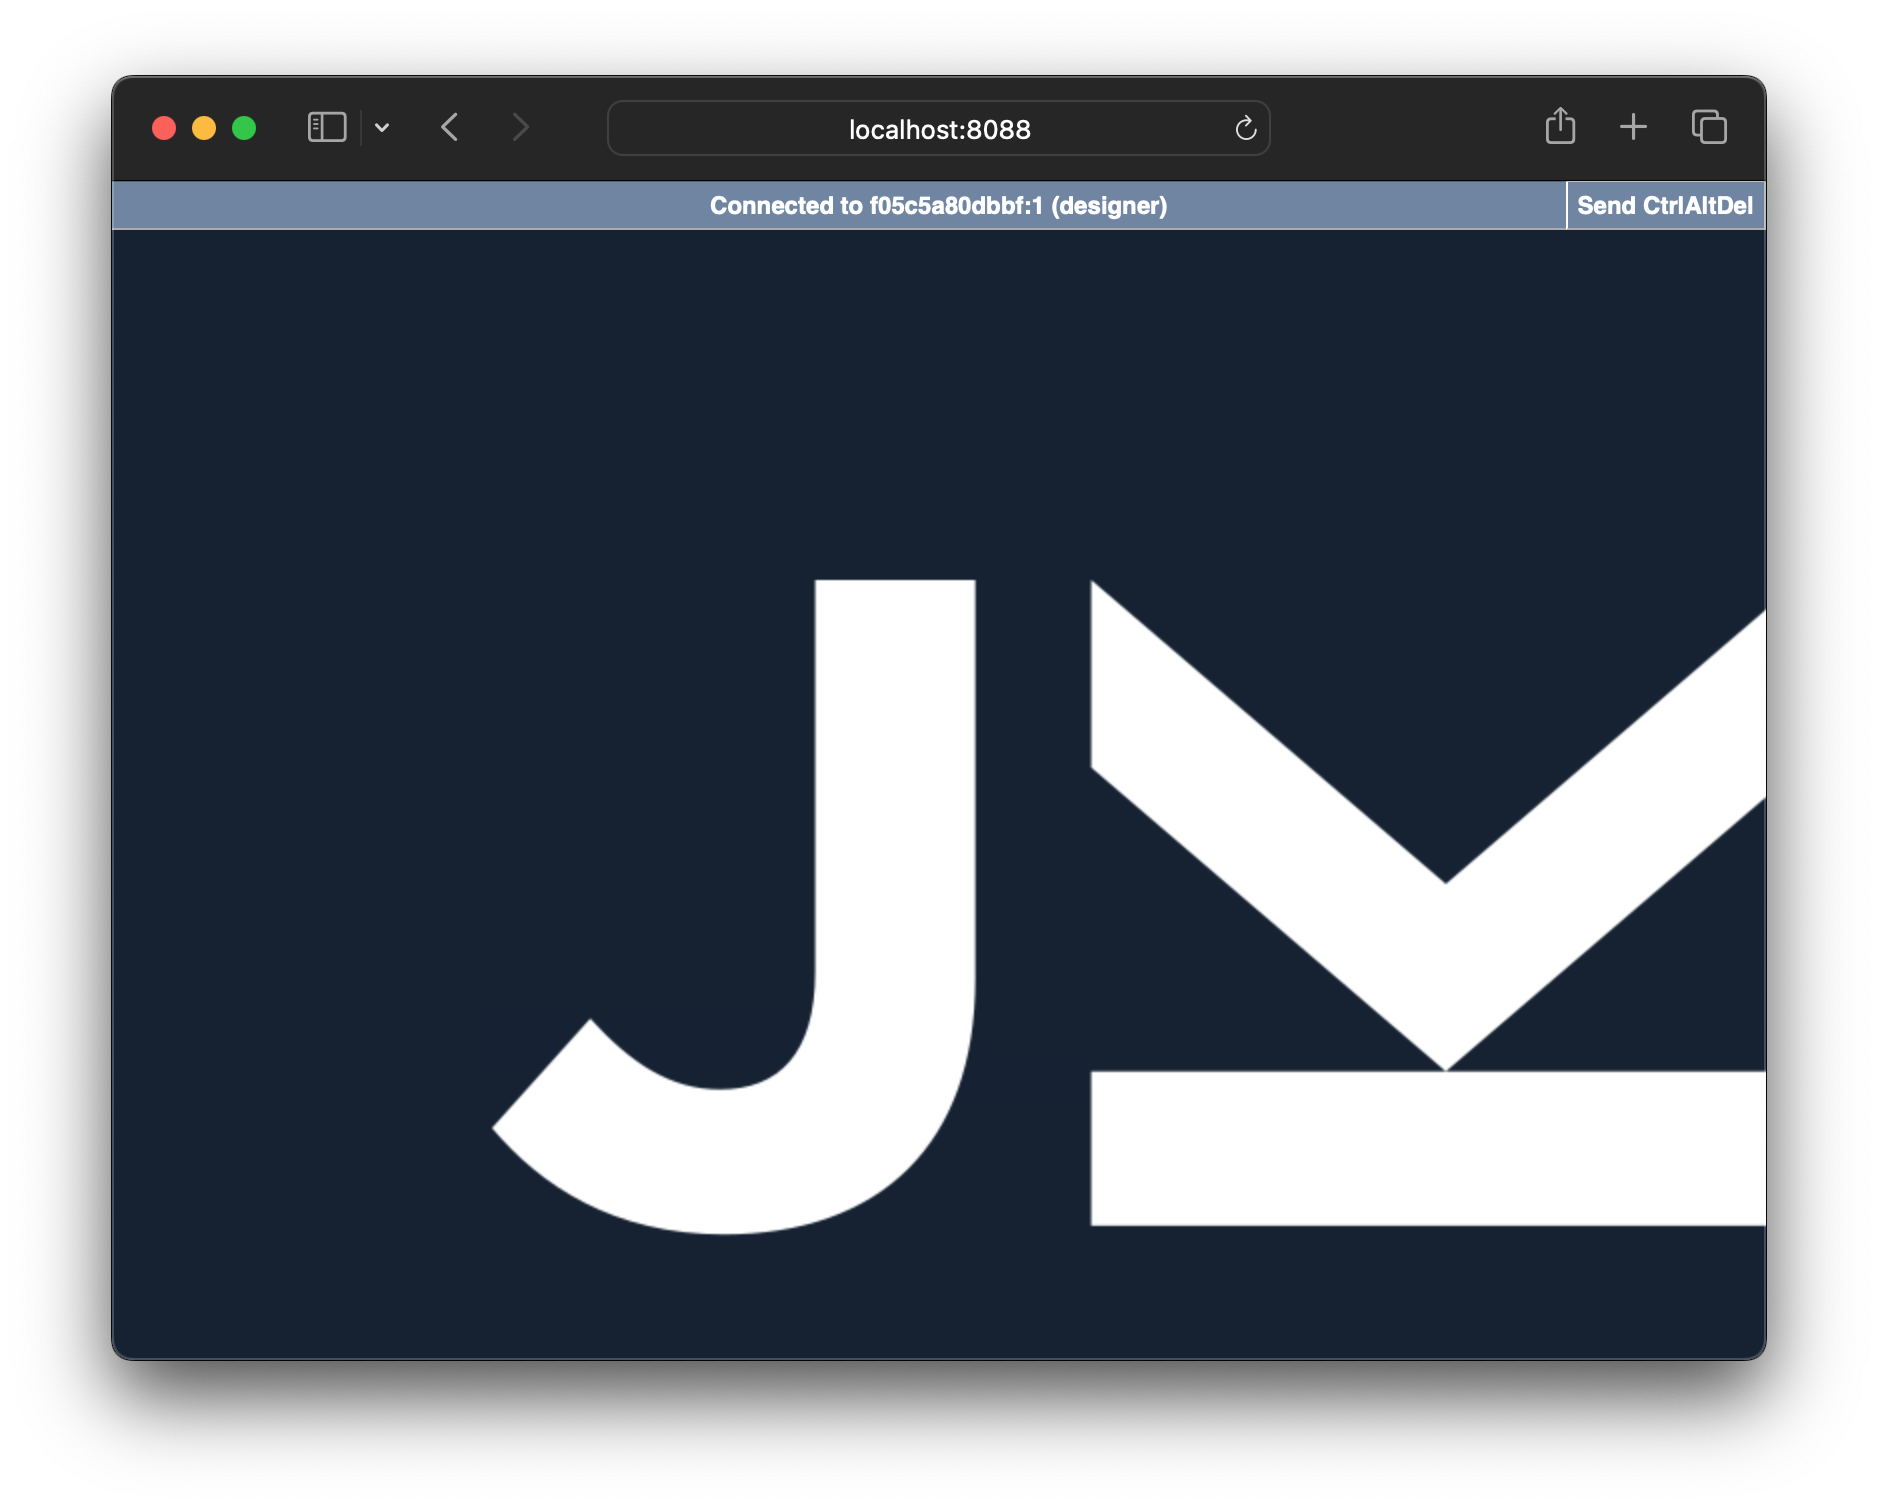
Open your browser and go to http://localhost:80 to connect to your local docker container, with the password abc123. FYI, you may need to zoom out in the browser to see the full desktop.
Alternatively, you can use a VNC application to connect to your local container:
- VNC Address: localhost:5901
- Password: abc123
Common Issues
Port already in use
- Problem: Port 80 or 5901 is already in use
- Solution: Run
WEBSERVER_PORT=8088 VNC_PORT=5901 ./start_vnc.shfor example, removing the previous container, and then this will start your container but on a different port.